



Ready in 13 minutes, these baked oysters are topped with lemon, parsley, chili flakes, and crispy panko, then broiled until golden and bubbling.
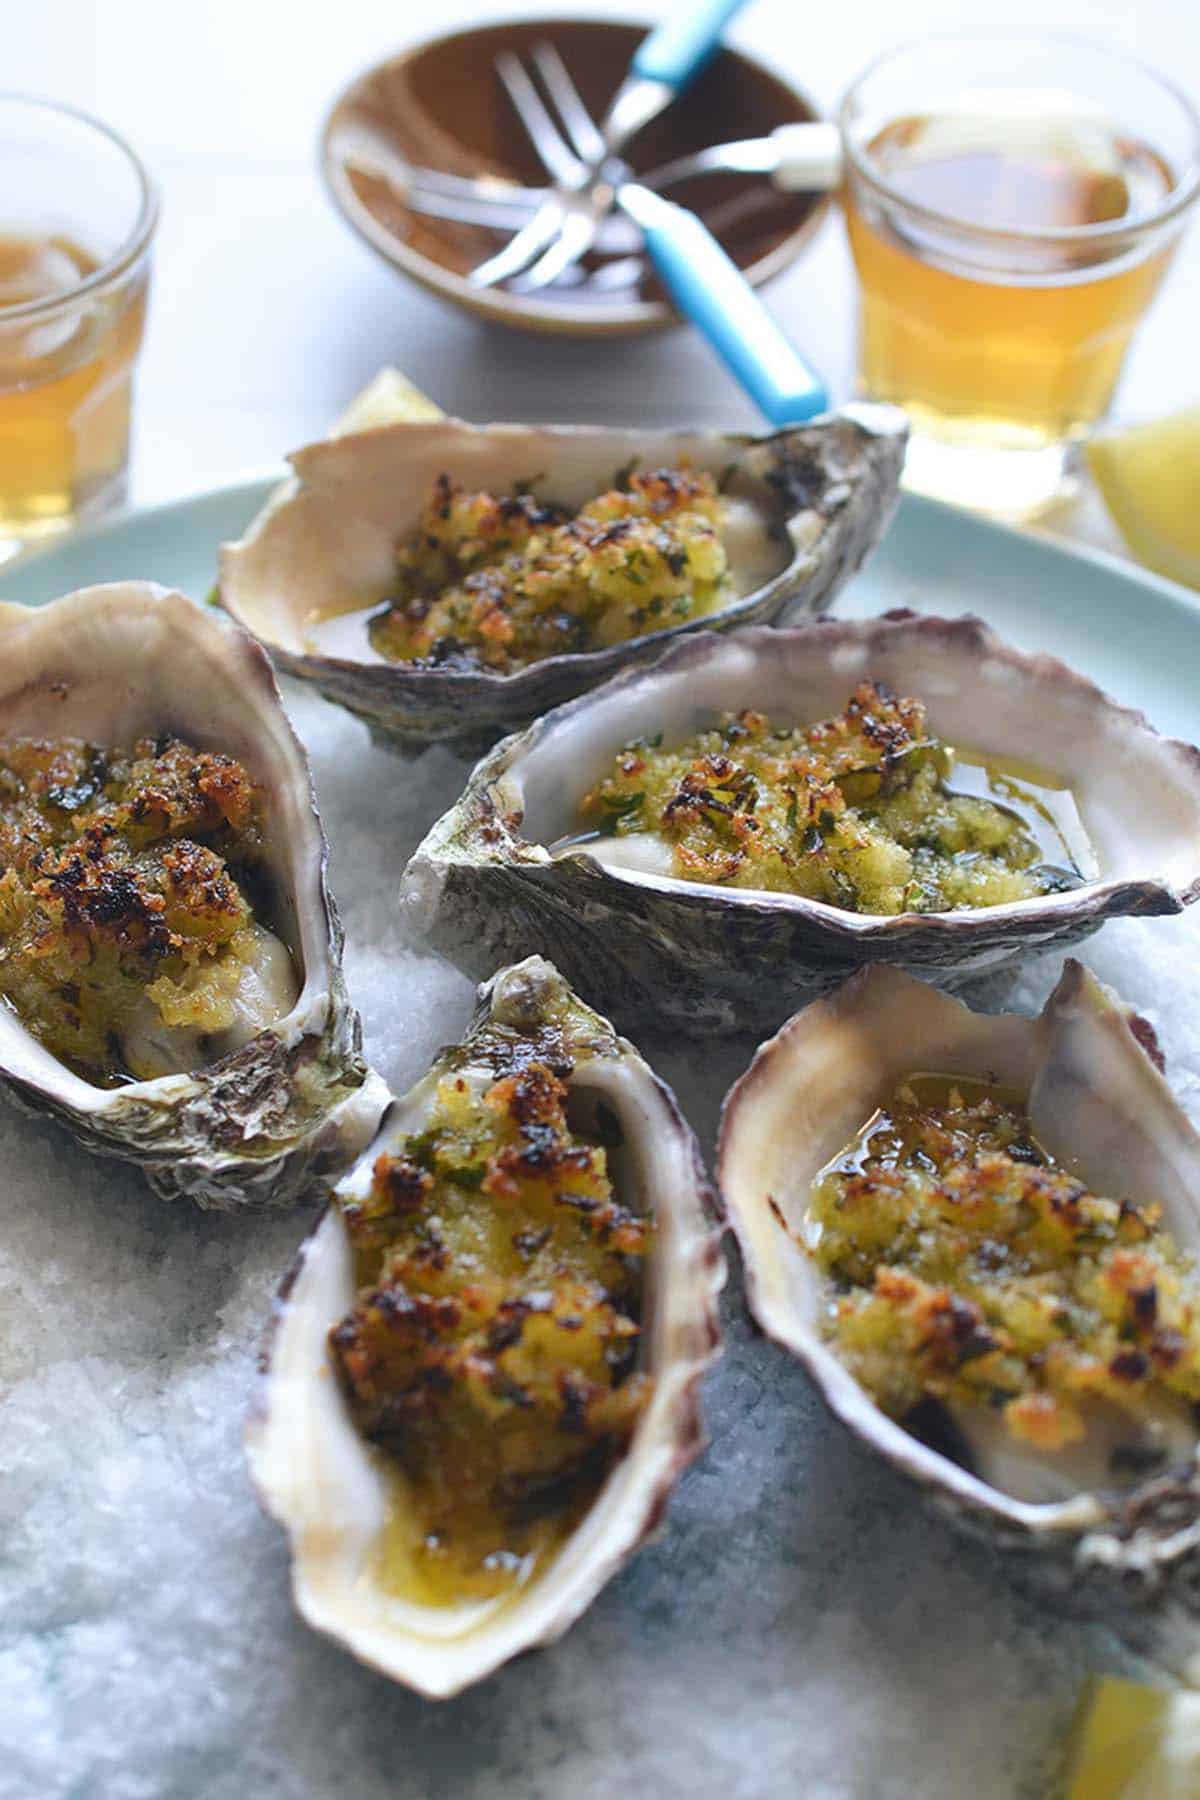
A Quick Baked Oyster Recipe for Oyster Lovers and Skeptics
These baked oysters stay tender and meaty—similar to a perfectly cooked scallop—with fresh, briny flavor and a crisp breadcrumb topping. Lemon and parsley balance the richness of the olive oil, while chili flakes add a gentle heat.
My brother and I have always been firmly in the oyster-loving camp. We’ll happily down them raw with only a squeeze of lemon, eat them smoky from the grill, or top them with breadcrumbs and bake them in a hot oven. Put a platter of oysters in front of us, and not one is going uneaten.
But if raw oysters feel like too big a leap, this baked oyster recipe is a welcoming place to start. Ask your fishmonger to shuck them for you, and the rest takes only minutes: make the topping, spoon it over the oysters, and broil. If you’re shucking them yourself, I’ll also walk you through buying, cleaning, and opening them at home.
Baked Oyster Ingredients
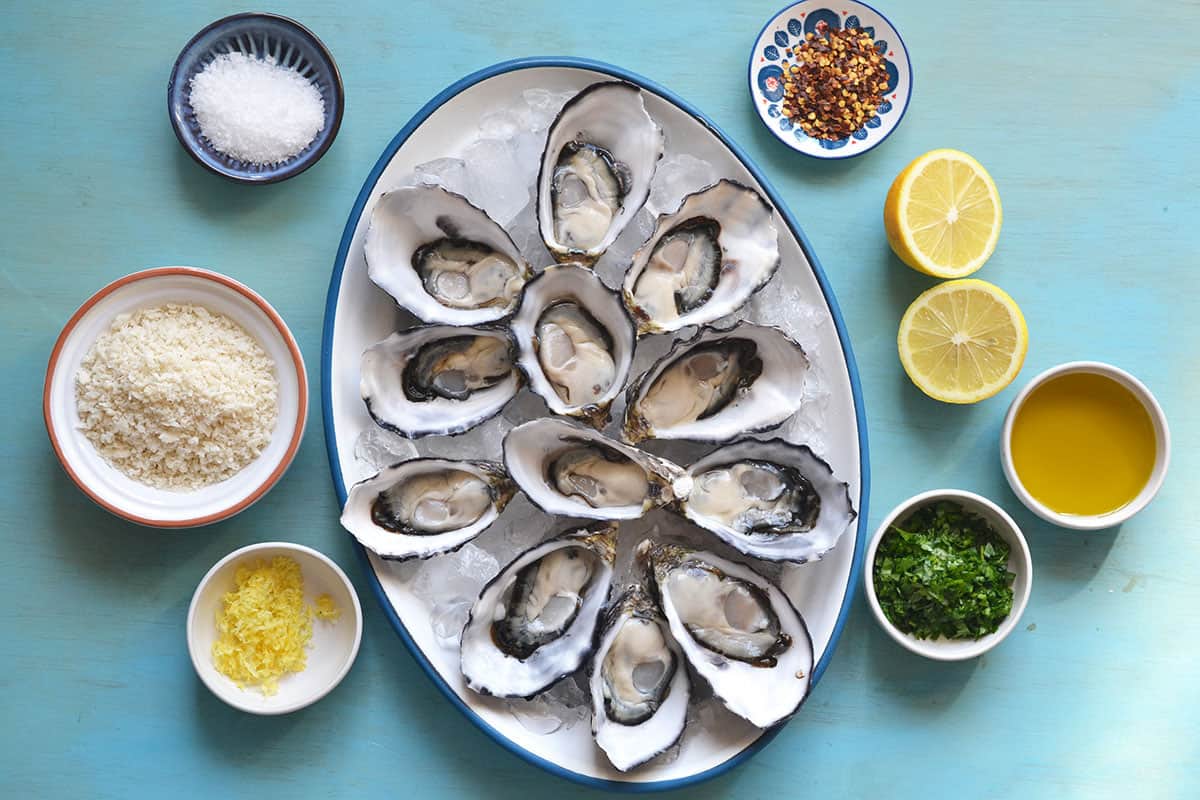
The ingredient list is short, with lemon, parsley, and good olive oil working as the main flavor-makers. Here’s what you’ll need:
- Oysters: Choose 12 plump oysters on the half shell. Ask your fishmonger to shuck them the day you buy them, or follow the buying and shucking guide below.
- Extra virgin olive oil: Olive oil moistens the breadcrumbs and gives the topping richness and flavor. Choose a smooth but flavorful variety, like our Spanish Hojiblanca extra virgin olive oil.
- Panko breadcrumbs: Panko is light and coarse, giving the oysters a crisp topping rather than a dense coating. Regular breadcrumbs will also work, but panko provides the best crunch.
- Fresh parsley: Parsley adds freshness and color. You can substitute freshly chopped mint if you prefer.
- Lemon: Both the zest and juice flavor the topping. The zest adds a fragrant citrus note, while the juice brings tartness to the briny oysters.
- Chili flakes: A small amount adds gentle heat without overwhelming the oysters.
- Salt: You need only a pinch to season the breadcrumb mixture.
- Lemon wedges: Serve alongside the finished oysters for anyone who wants an extra squeeze of lemon.
How to Buy Oysters
For this recipe, look for plump oysters on the half shell—the flat top shell is removed, while the oyster and its flavorful liquor remain in the cupped bottom shell. A good fishmonger can shuck them for you, which makes this an especially quick appetizer.
When buying oysters:
- Choose a reputable source. Buy live oysters from a trusted fishmonger or seafood supplier.
- Inspect the shells. Whole oysters should be tightly closed and free of cracks or damage.
- Trust your nose. Fresh oysters should smell clean and briny, like the sea. Avoid any that smell strongly fishy or unpleasant.
- Check packaged oysters carefully. The label should identify where and when the shellfish were harvested.
- Ask when they were shucked. If you’re buying oysters on the half shell, confirm they were shucked that day.
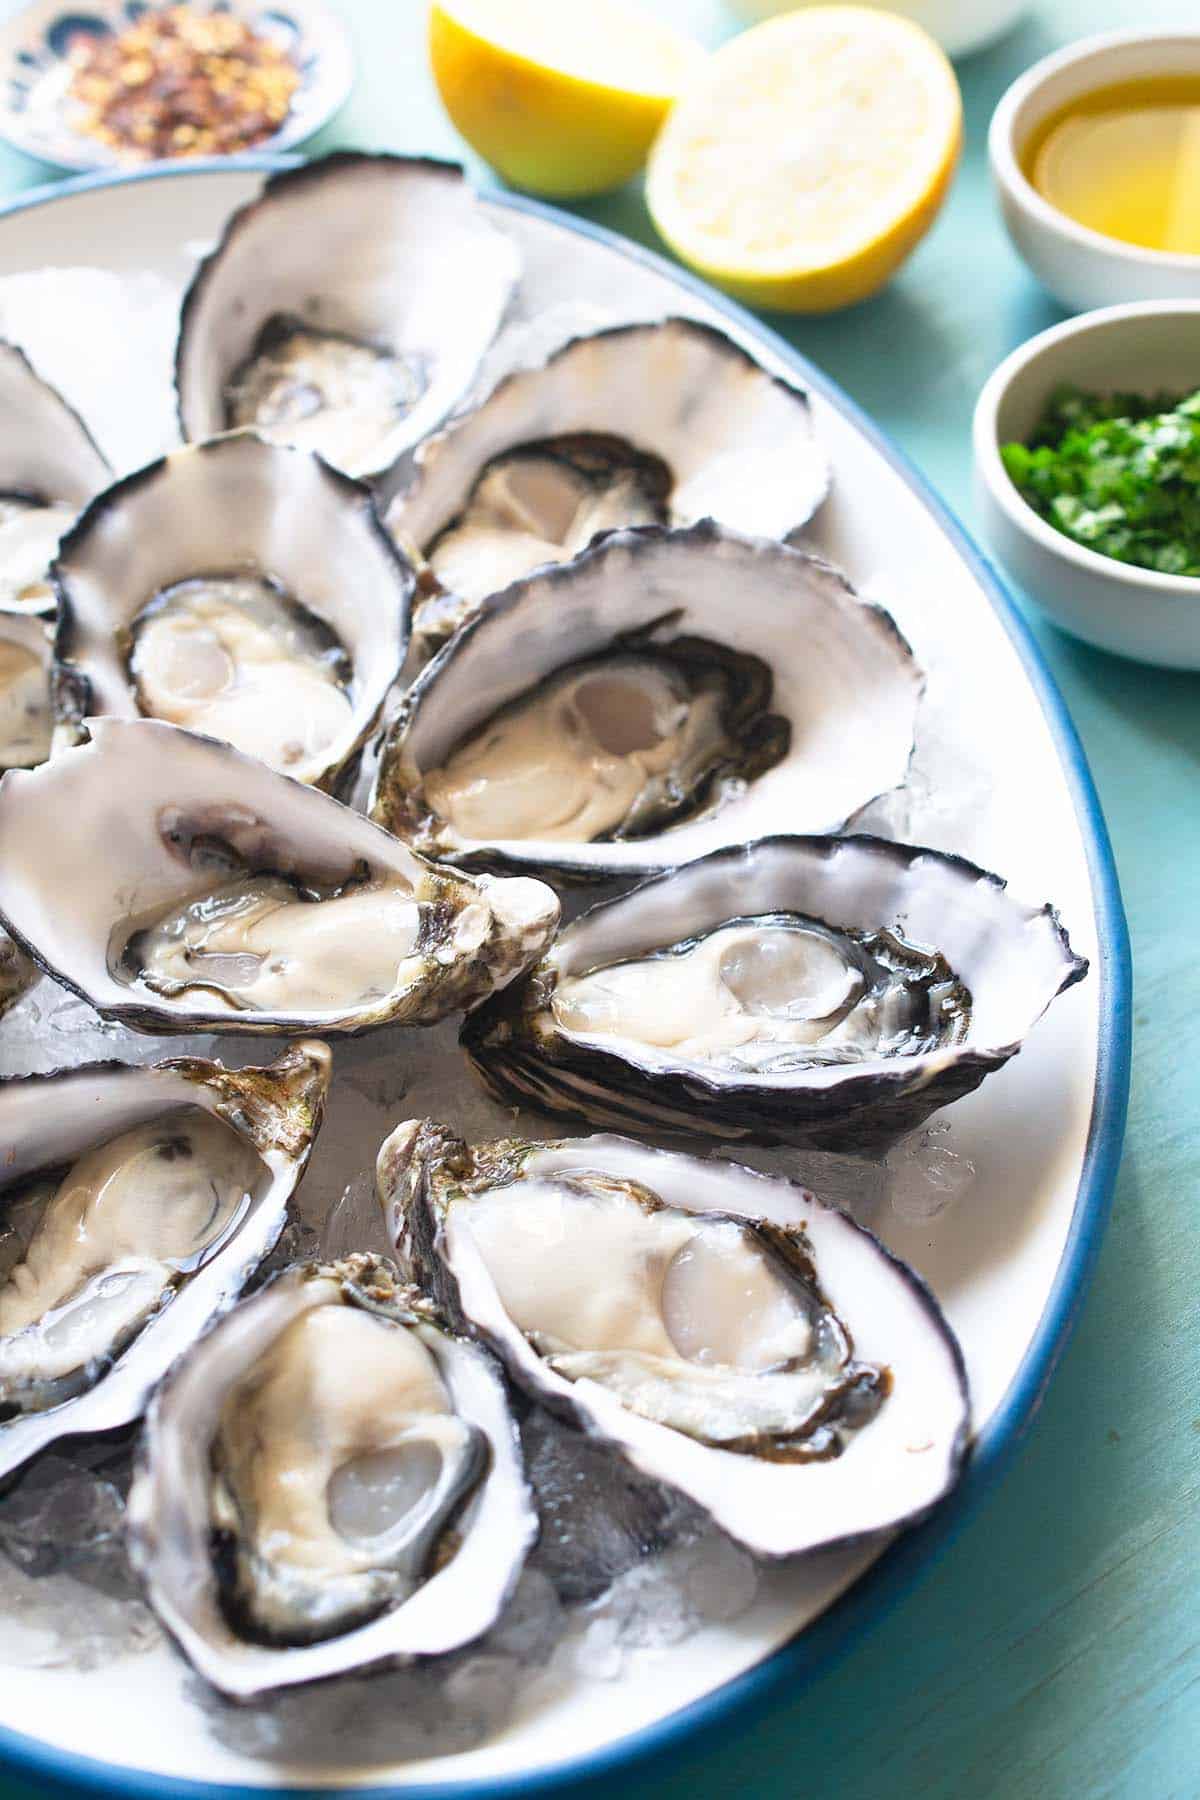
How to Shuck Oysters Safely
An oyster knife and a protective glove are the safest tools for the job. The shells can be sharp, so work slowly and always point the knife down and away from your other hand.
- Clean the oysters. Scrub the shells under cold running water with a stiff brush to remove any grit or sand. Rinse and pat dry.
- Protect your hand. Wrap the rounded end of the oyster in a folded kitchen towel. Place the deeper, bowl-shaped shell on a sturdy work surface with the hinge pointing toward your dominant hand.
- Open the hinge. Hold the oyster steady and gently work the tip of the oyster knife into the hinge. Twist the knife until the shell pops open.
- Release the top shell. Slide the knife along the inside of the top shell to cut through the muscle holding it closed. Lift away and discard the top shell.
- Loosen the oyster. Run the knife beneath the oyster to release it from the bottom shell, taking care to preserve as much of its briny liquor as possible.
For more detail and step-by-step photos, see our complete guide to how to shuck oysters.
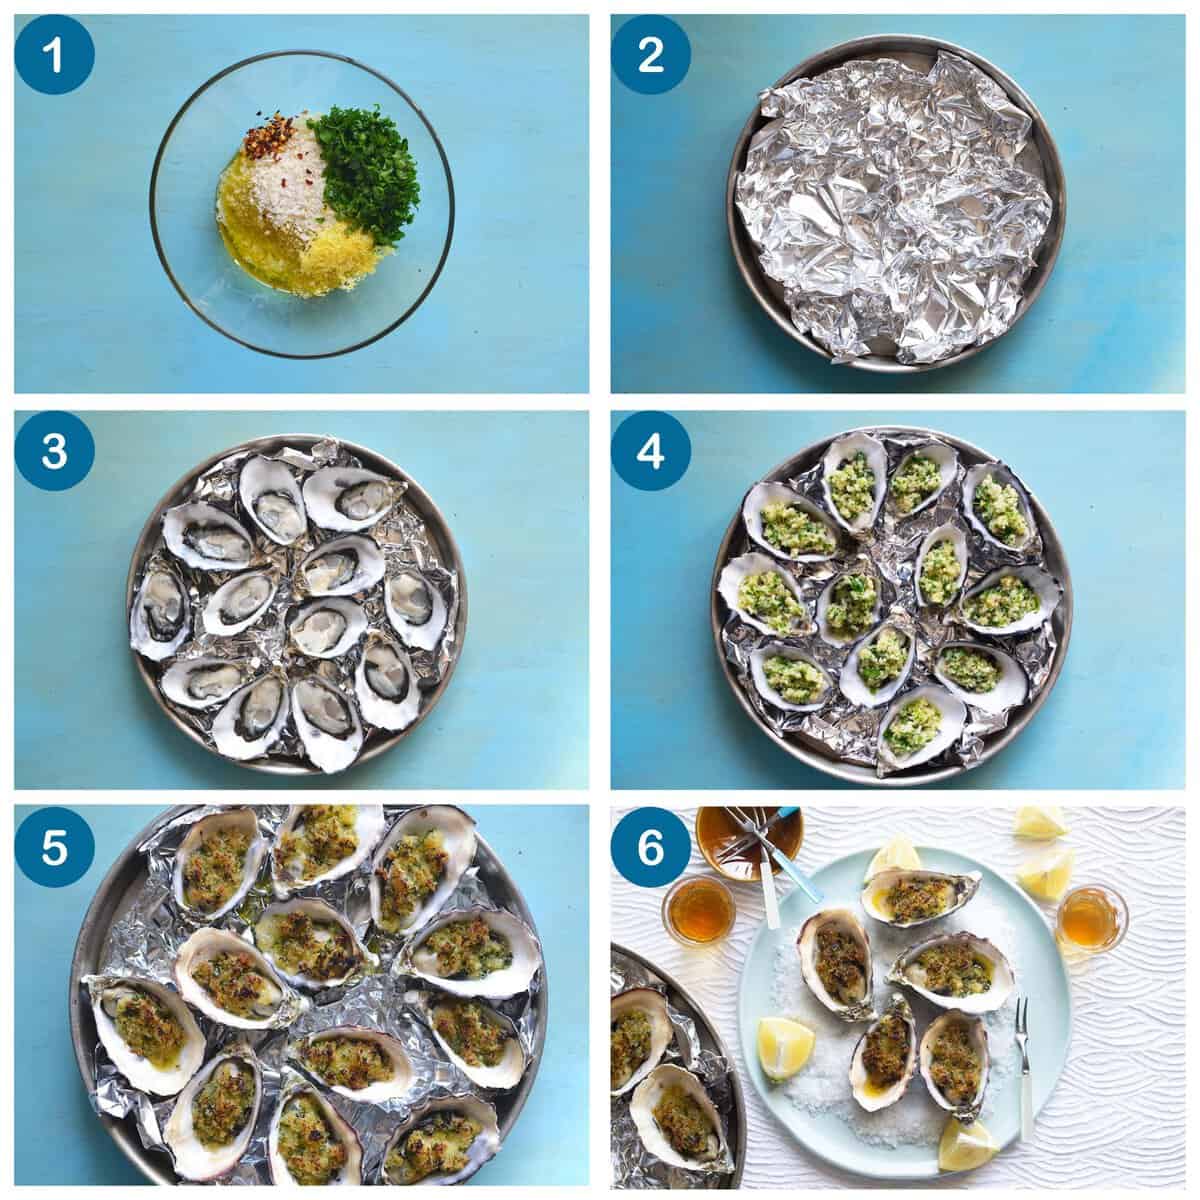
How to Make Baked Oysters
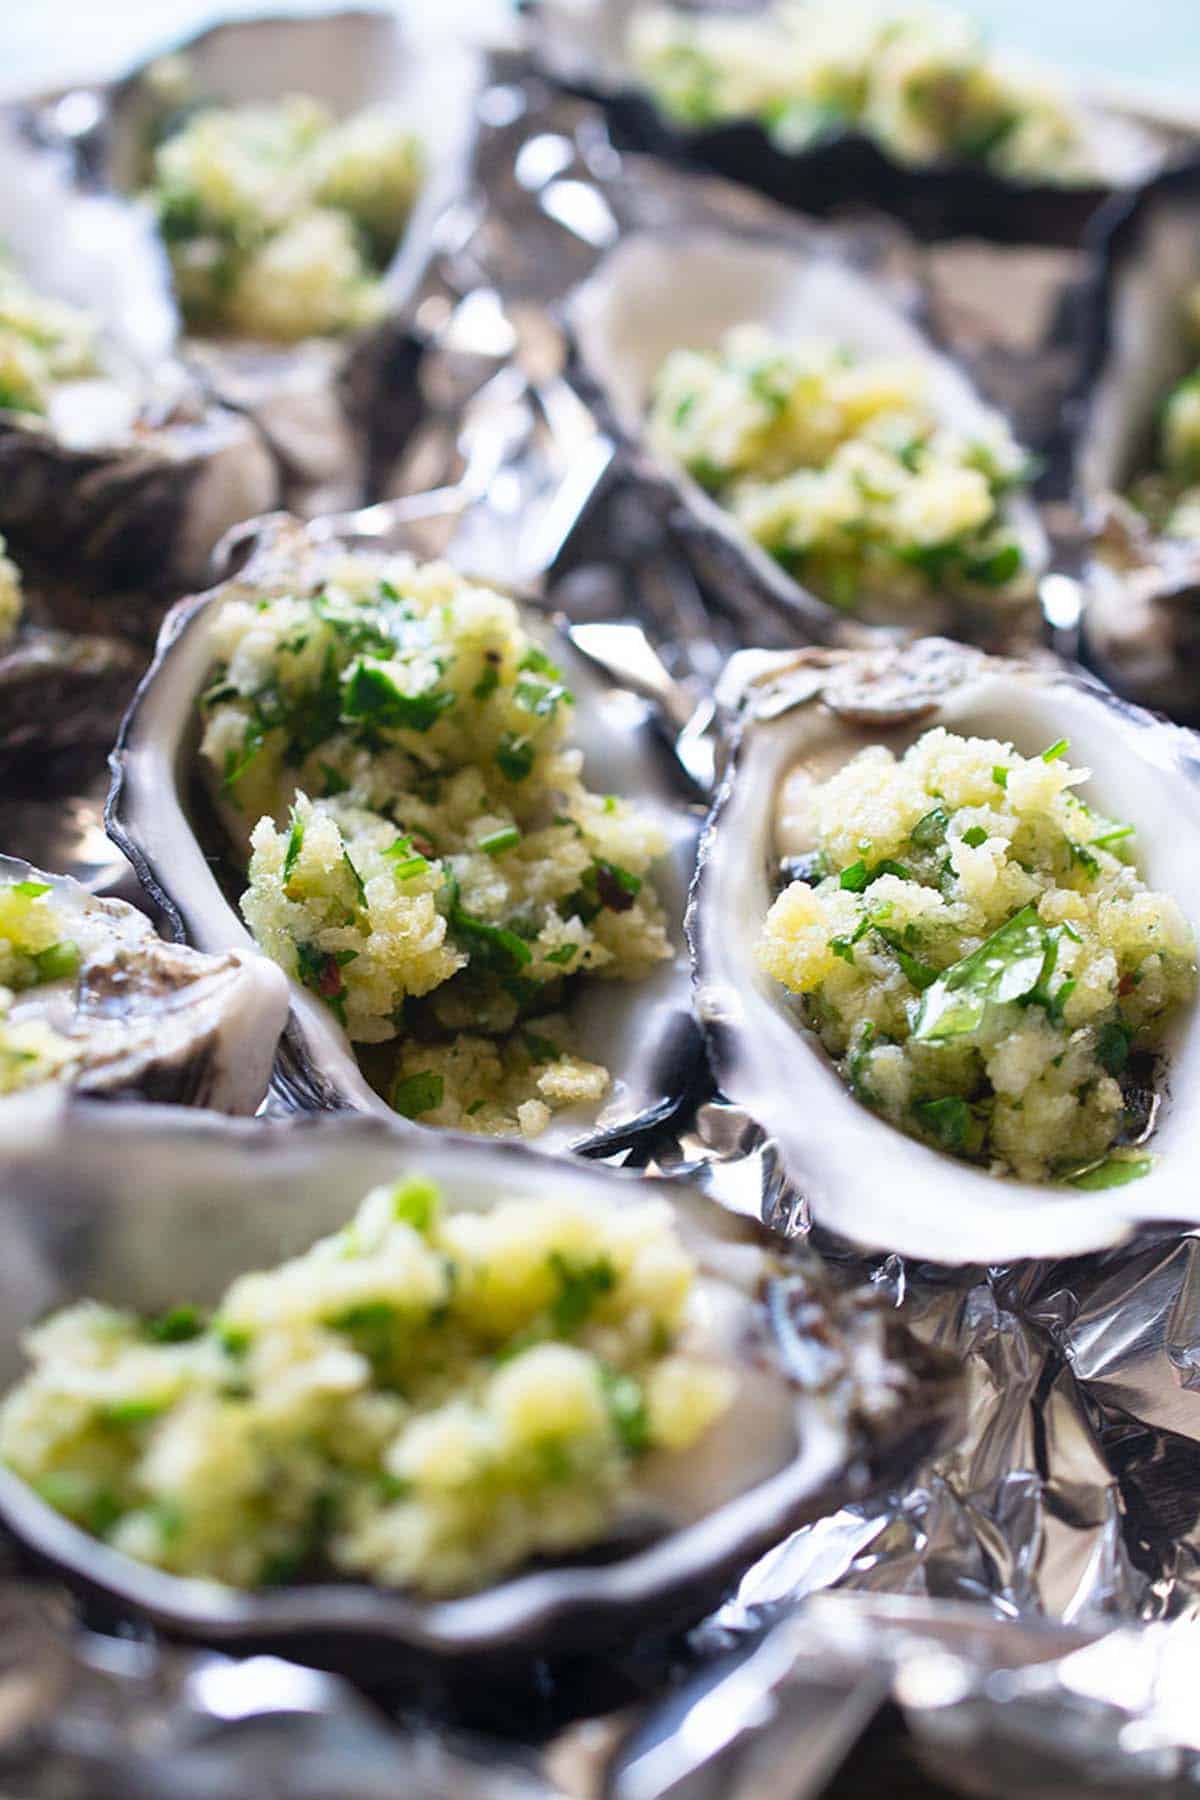
Once the oysters are shucked, this recipe comes together in minutes. Crumpled aluminum foil keeps the shells level so their flavorful juices do not spill as they cook.
- Make the breadcrumb topping. In a medium bowl, combine 1/2 cup panko breadcrumbs, 1/4 cup chopped parsley, the zest and juice of 1 lemon, 1/2 teaspoon chili flakes, 5 tablespoons extra virgin olive oil, and a pinch of salt. Mix well.
- Secure the oysters. Line a sheet pan with aluminum foil, then crumple the foil to form small “nests.” Arrange the 12 oysters upright in the foil so they cannot tip and lose their liquor.
- Add the topping. Spoon 1 teaspoon of the breadcrumb mixture over each oyster. Drizzle about 1/2 teaspoon olive oil over each one.
- Broil. Place the sheet pan about 6 inches below the broiler and watch the oysters closely. Broil until the topping is golden and bubbling, 6 to 8 minutes.
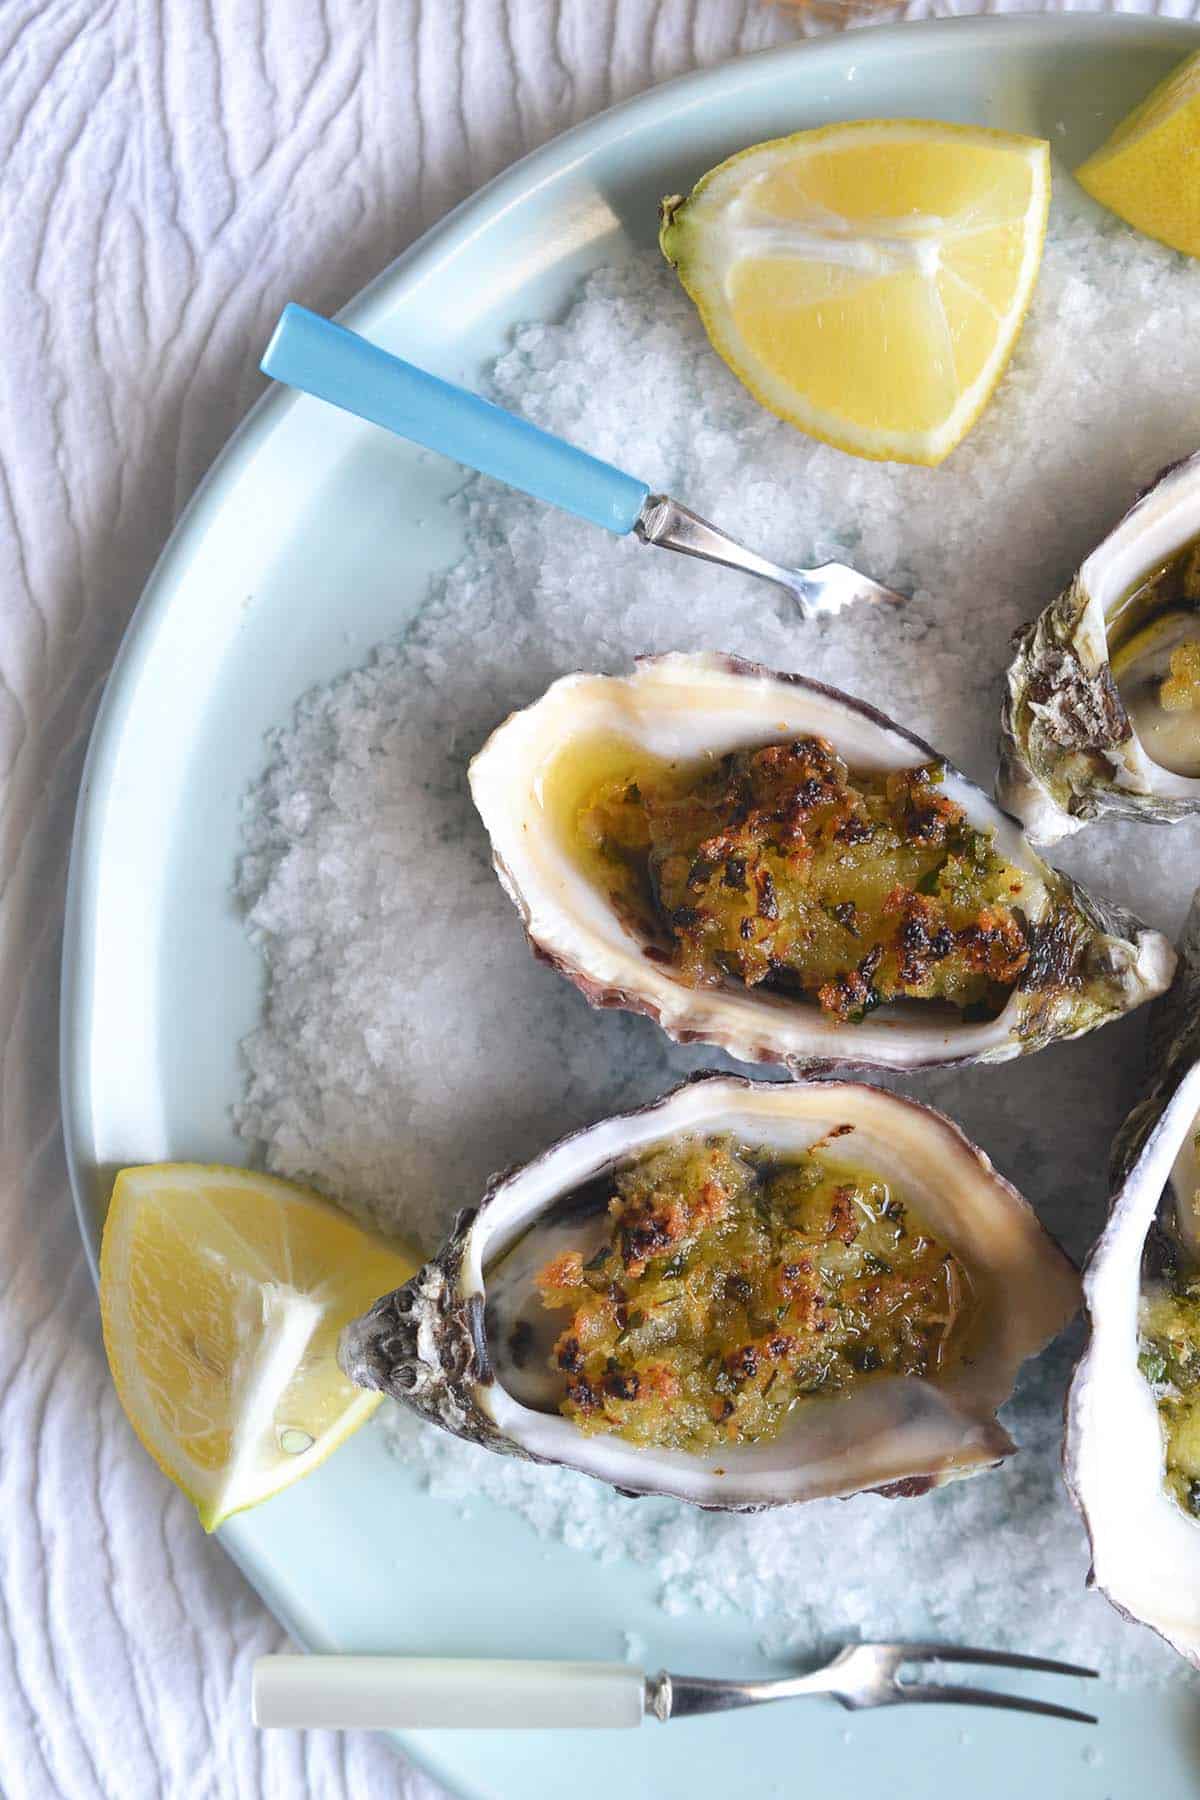
- Serve. Using oven mitts or tongs, carefully transfer the hot oysters to an oyster plate or a serving platter covered with rock salt to hold the shells steady. Loosen each oyster with a small fork and serve with lemon wedges once cool enough to eat, about 1 to 2 minutes.
Tips for the Best Baked Oysters
- Keep the oysters level. Their natural liquor adds briny flavor and keeps the oysters moist. Crumpled foil or a bed of rock salt prevents the shells from tipping.
- Use panko for the best crunch. Its larger, airier flakes become crisp without forming a heavy coating over the delicate oysters.
- Stay close to the oven. Broilers vary, and the breadcrumbs can go from golden to burned quickly. If the shells begin popping or the topping darkens too fast, lower the heat.
- Look for visual doneness cues. The topping should be golden and bubbling, and the edges of the oysters should begin to curl.
- Serve them promptly. Baked oysters are at their best when the topping is still crisp, and the oysters are warm and juicy.
Can You Grill These Oysters?
Yes. You can cook the topped oysters on the grill instead of under the broiler. The key is finding a stable position for each shell so its liquor does not spill.
For a covered grill, place the oysters over indirect heat and close the lid, allowing the grill to work like an oven. If you’re grilling without the lid, watch them closely. Popping shells indicate that the heat is too intense, so move the oysters to a cooler part of the grill.
Cook until the breadcrumb topping is golden and bubbling and the oyster edges begin to curl. Use long tongs or heatproof gloves to remove the shells, as they will be extremely hot.
What to Serve with Baked Oysters
This recipe makes 12 oysters, or about two per person when served as an appetizer. Arrange them on a platter lined with rock salt and tuck lemon wedges around the shells for squeezing.
A crisp sparkling wine is a natural pairing with their lemony, briny flavor. For an elegant appetizer spread, add radishes with butter and salt and garlicky pan con tomate.
You can also serve the oysters as the beginning of a larger seafood dinner. Follow them with seafood paella or a warming pot of cioppino for a celebratory meal.
A Seafood Feast: More Shellfish Recipes
Fish and Seafood
Steamed Mussels in Garlic White Wine Broth
Fish and Seafood
Mediterranean-Style Steamed Clams Recipe
Spanish
Seafood Paella Recipe

Ingredients
- 12 oysters, shucked on the half shell
- 1/2 cup breadcrumbs, preferably panko
- 1/4 cup chopped parsley
- 1 lemon, zested and juiced
- 1/2 teaspoon chili flakes
- 1/2 cup extra virgin olive oil
- Salt
- Lemon wedges, for serving
Instructions
- Make the topping. In a medium bowl, combine the breadcrumbs, parsley, lemon zest and juice, chili flakes, and 5 tablespoons of the olive oil. Season with a pinch of salt and mix well.
- Prepare the oysters. Line a sheet pan with aluminum foil, then crumple the foil to form small “nests.” Arrange the oysters upright in the foil so their liquid cannot spill.
- Top the oysters. Spoon 1 teaspoon of the breadcrumb mixture over each oyster. Drizzle about 1/2 teaspoon olive oil over each one.
- Broil. Place the sheet pan about 6 inches below the broiler. Keep the oven door slightly open and watch the oysters closely. Broil until the topping is golden and bubbling and the oyster edges begin to curl, 6 to 8 minutes.
- Serve. Using oven mitts or tongs, carefully transfer the oysters to an oyster plate or a serving platter lined with rock salt. Loosen each oyster with a small fork and serve with lemon wedges once cool enough to eat, about 1 to 2 minutes.
Notes
- Broilers vary, and the breadcrumb topping can burn quickly. If the shells begin popping or the topping darkens too fast, lower the heat.
- If you are shucking the oysters yourself, use an oyster knife and protective gloves if possible. Keep the knife pointed down and away from your other hand, and use a folded towel to prevent slipping. See our complete guide to shucking oysters.
- Shop This Recipe: Visit The Mediterranean Dish Shop for the Spanish Hojiblanca extra virgin olive oil used in this recipe.
Nutrition
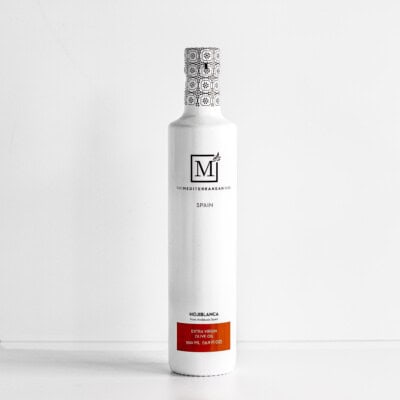
Try Our Peppery
Spanish Olive Oil
Hojiblanca olives—bold, grassy, and slightly peppery—yield oil perfect for drizzling over salads, grilled fish, and vegetables.

Made a couple of times with Clams & Oysters and it was easy and very tasty.
This is now on rotation. Thanks you have great recipes!
So glad you enjoyed the recipe, Glenn! Thanks for the great review!
This was delicious!! I made this for myself and my children and they loved it. The only change I made was no additional olive oil on top after spooning the filling on top of the oyster—still came out perfectly golden with a crisp breadcrumb topping and tender oyster. Will definitely make again! ☺️
Love that your kids were fans… oysters aren’t always an easy sell! Good to know it still comes out perfectly golden without the extra drizzle on top.
Too sour, you taste nothing but lemon. Had to throw the whole batch away, unfortunately.