


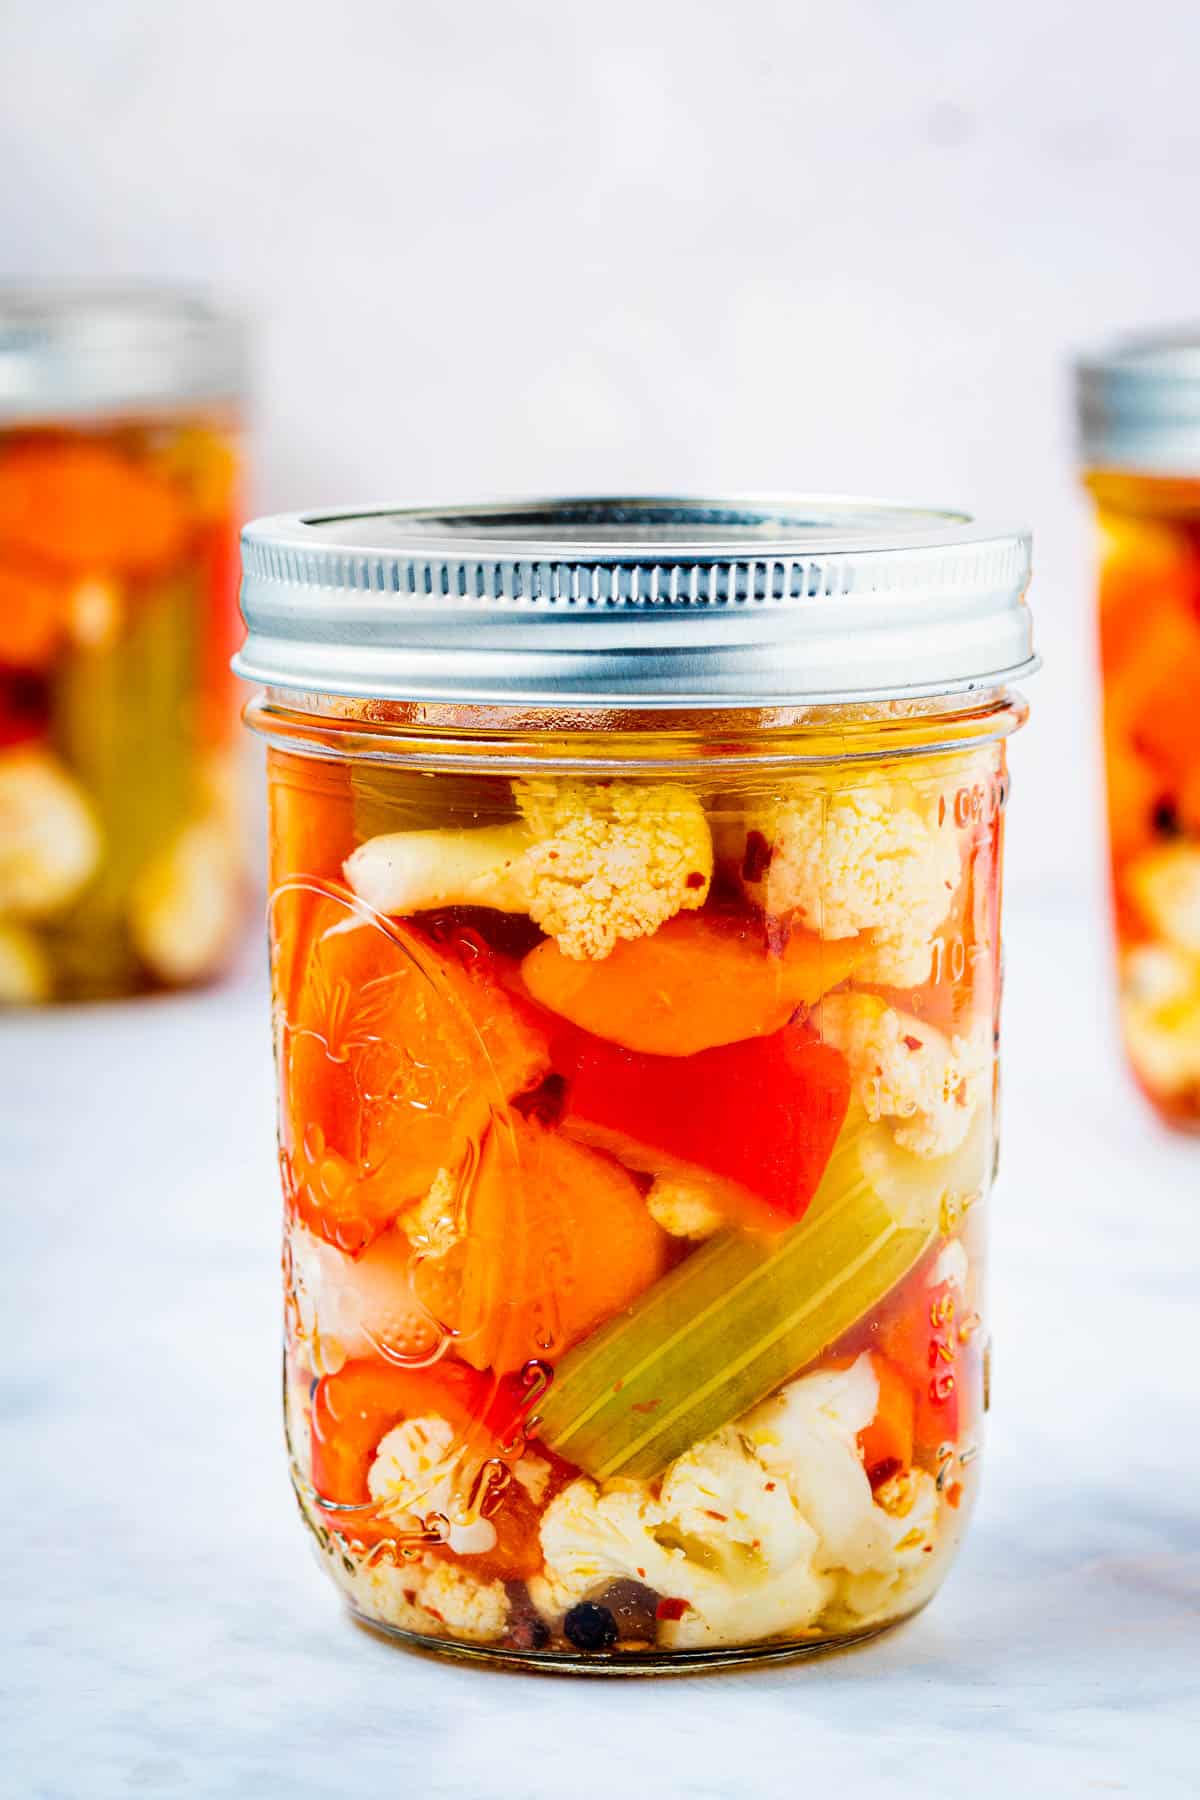
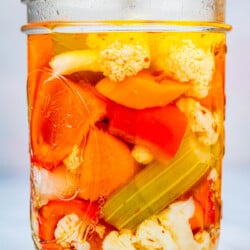
If bottled supermarket Italian giardiniera is your only reference, you are in for a happy surprise! Enticingly tangy and crunchy, this colorful Italian pickle of carrots, cauliflower, peppers, and other vegetables is surprisingly easy to make at home. Once you’ve had this homemade giardiniera recipe, you’ll never use store bought again.
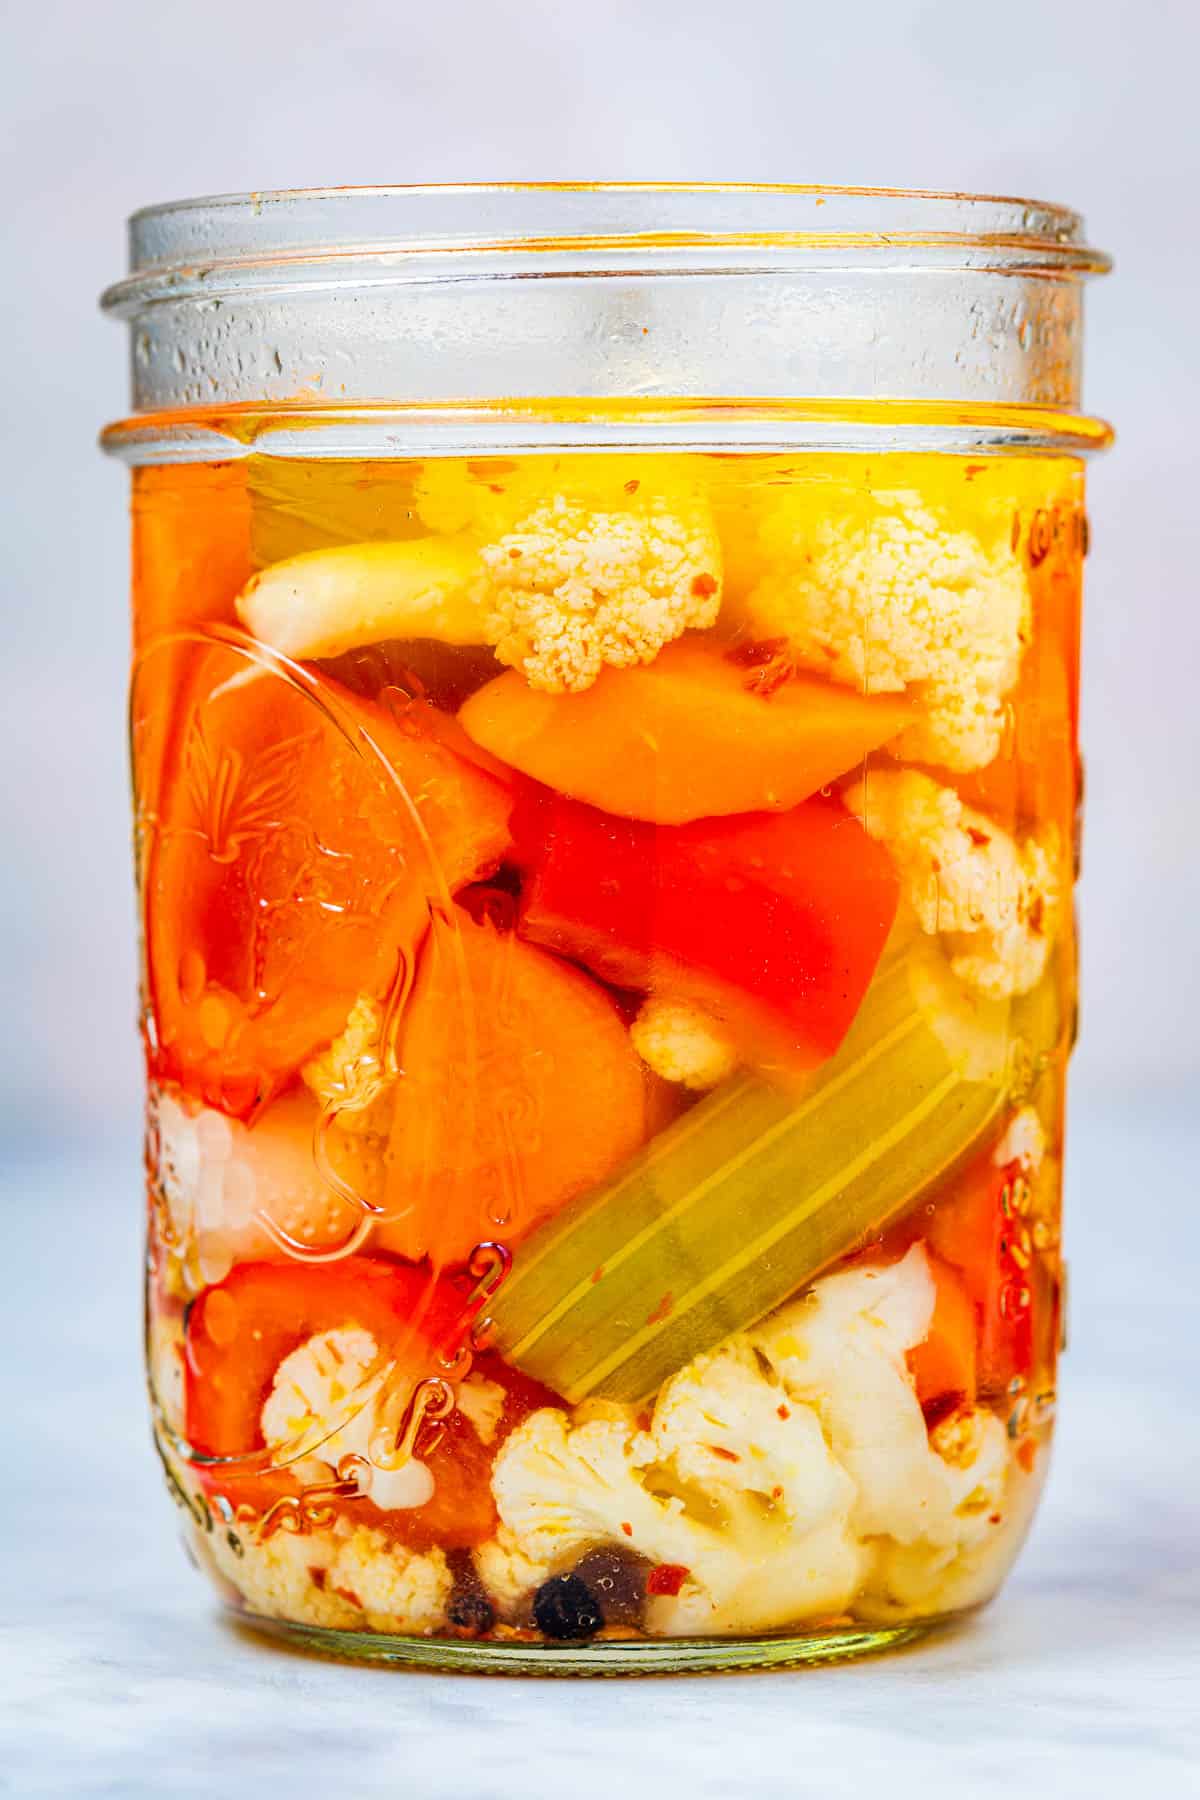
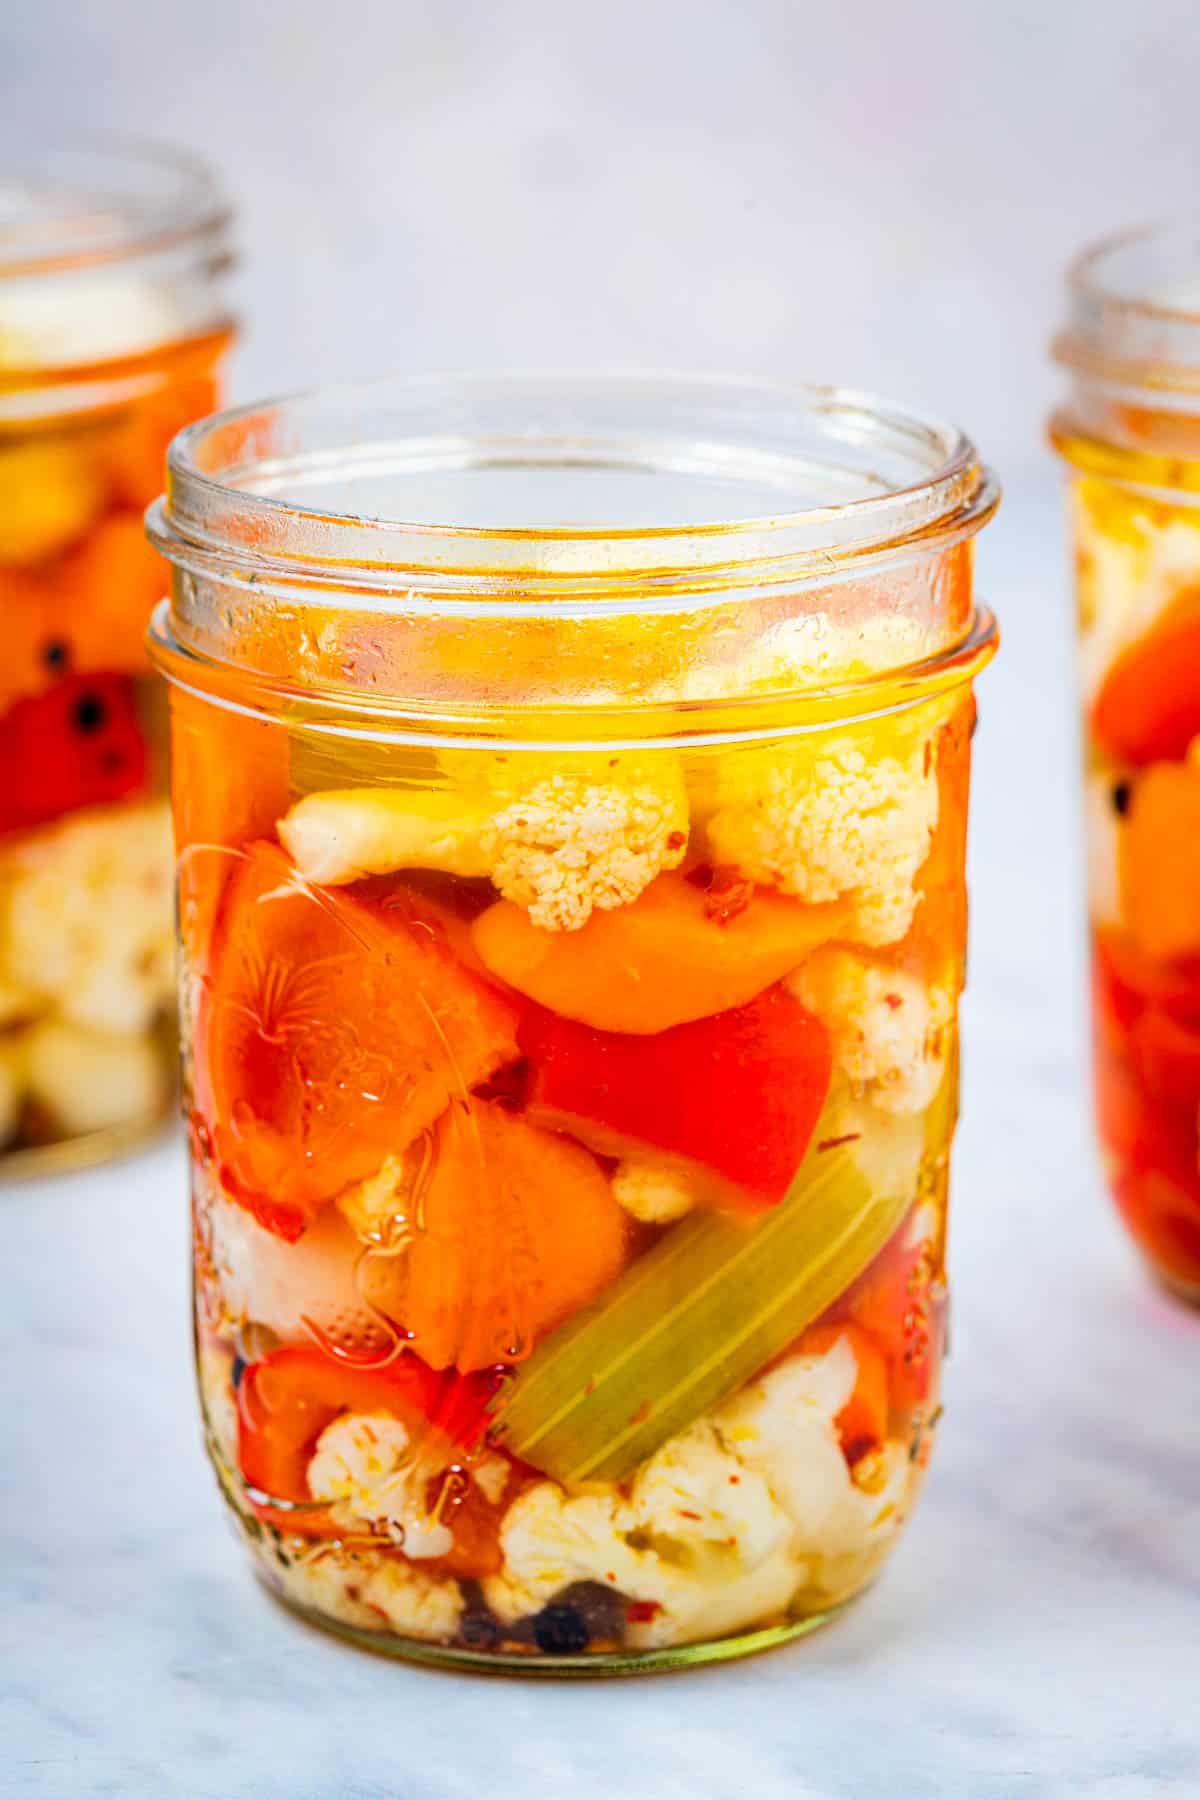
Giardiniera, a popular Italian pickle made from a mix of vegetables, is the perfect addition to a sandwiches, an antipasto platter, tuna or egg salads, or as a jazzy side to grilled sausages, roasts, or frittatas.
If you’ve ever perused the shelves of an Italian supermarket, you’ll know there is often an entire aisle devoted to pickled vegetables. It’s hard to miss those big jars, filled with colorful carrots, peppers, cauliflower and more.
But did you know there are many homemade versions of giardiniera as well? In fact, there are probably as many giardiniera recipes as there are Italian cooks! Some cooks like to finely chop the mix of vegetables, others prefer large pieces. While some add sugar to the vinegary brine, others prefer it spiked with hot pepper. Some versions are bathed in olive oil, others are straight vinegar.
My mom made giardiniera every summer, and, not surprisingly, her version is my favorite. I love the mix of crisp, colorful vegetables that she chose, and the addition of spices like peppercorns, cloves, and juniper berries to punch up the flavor of the brine.
I included my mom’s giardiniera recipe in my book, Preserving Italy, where I wrote about Italian preserving traditions in the kitchen. And I’m sharing this beloved family recipe with you here so you can enjoy it too. You’ll love the bracing crunch of these colorful Italian pickled vegetables!
Table of Contents
What is Giardiniera?
The word “giardiniera” comes from the Italian word “giardino,” which means garden. Italians are avid gardeners, and they especially love vegetable gardening. Why take up space with a lawn when you can grow your own produce instead?
Giardiniera typically contains a mix of vegetables that you might find in an Italian garden: carrots, cauliflower, celery, green beans, peppers, and onions. At the end of harvest season, it was traditional to preserve these vegetables, so that they could be enjoyed during the winter months.
In the 19th Century, Italian immigrants brought their giardiniera recipes with them to the U.S., and giardiniera has since become an essential condiment for everything from hot dogs and burgers to Chicago’s famed Italian beef sandwiches and New Orleans’ muffuletta.
What’s in this Giardiniera Recipe?
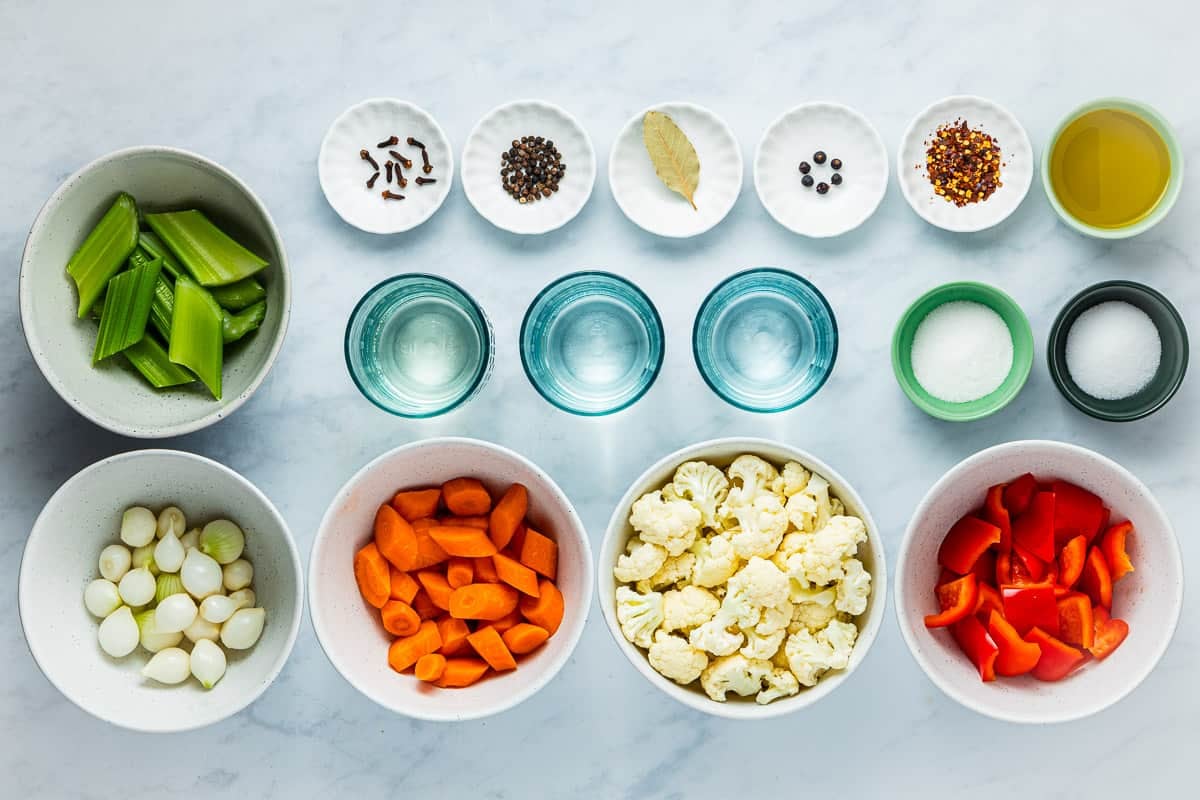
Great giardiniera is all about bold flavors, crunchy textures, and bright colors. Here’s what you’ll need to make Italian pickled vegetables:
The Vegetables
A colorful mix of vegetables is a must, but it’s also important that the flavors pair well together. Here’s my favorite mix.
- Carrots: Bright orange carrots add color and snap to giardiniera, plus a touch of sweetness.
- Cauliflower: Pretty florets of cauliflower soak up the flavor of giardiniera brine and add a welcome crunch. In spring, I use a whole small head (about 12 ounces). When the larger cauliflower start hitting the shelves, I use half a head.
- Celery: No giardiniera recipe is complete without the juicy crunch of celery.
- Green beans: You can use just green beans or a mix of green beans and lemon-yellow wax beans.
- Onions: Small is the way to go here. Use whole peeled pearl or cipollini onions.
- Sweet bell peppers Add an assertive touch. Just one whole red bell pepper does it, or for a little extra color use 1/2 red pepper and 1/2 yellow bell pepper.
The Brine
I prefer a mostly sour brine, with lots of spices and just a touch of sugar, for my giardiniera.
- White wine vinegar: Gives the giardiniera a pleasing fruity undertone.
- Distilled white vinegar: More neutral in flavor than wine vinegar, distilled vinegar adds a crisp acidity to the giardiniera brine.
- Water: Spring water or filtered tap water cuts the acidity of the brine.
- Kosher salt: Brings out the vegetables’ flavors.
- Sugar: Brings balance and enhances the vegetables’ natural sweetness.
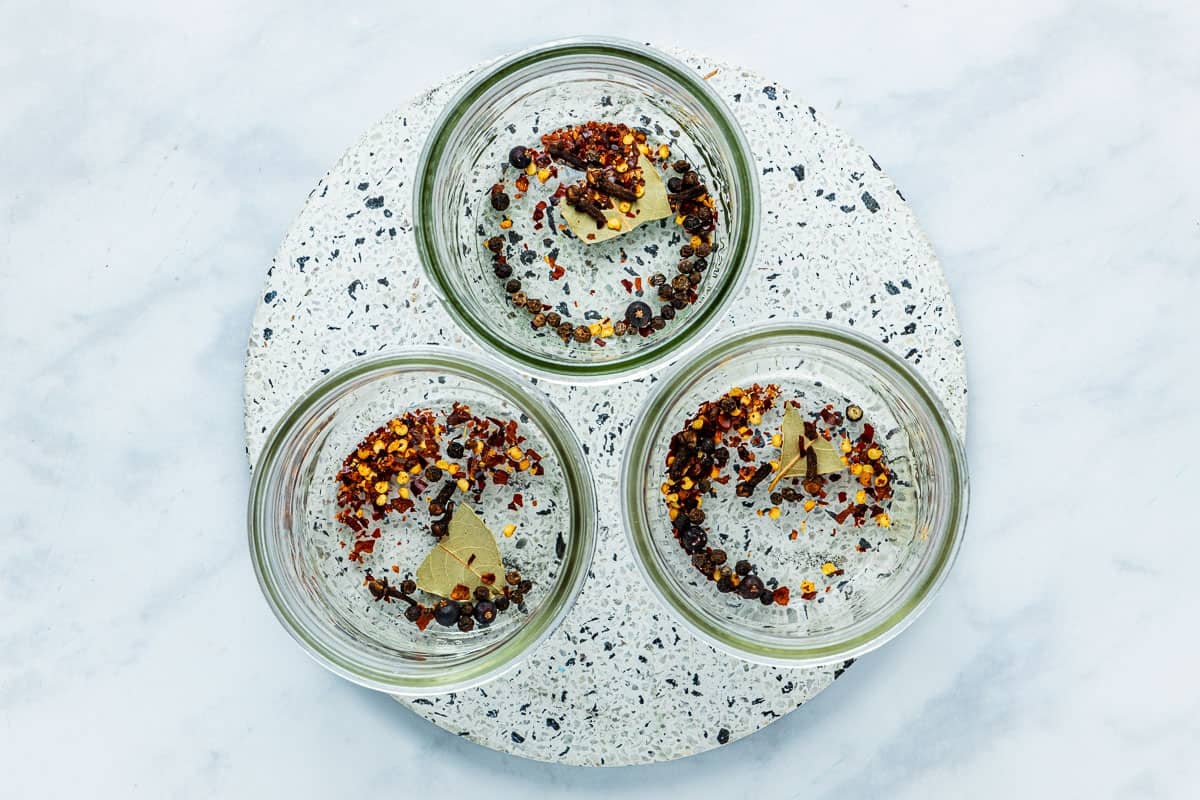
- Spices: Whole black peppercorns, crushed red pepper, whole cloves, juniper berries, and dried bay leaf add an aromatic, warming quality to the brine, infusing the vegetables with flavor.
- Extra-virgin olive oil: Topping off the jars with just a few tablespoons of olive oil adds a touch of richness to mellow the bracing vinegar brine. Use a smooth, flavorful olive oil, like our Italian Nocellara.
How to Make this Giardiniera Recipe
You can make homemade giardiniera in under an hour, including vegetable prep! I cut the vegetables into large bite-sized pieces, rather than finely chopping them. It makes for a prettier presentation and it’s better for snacking.
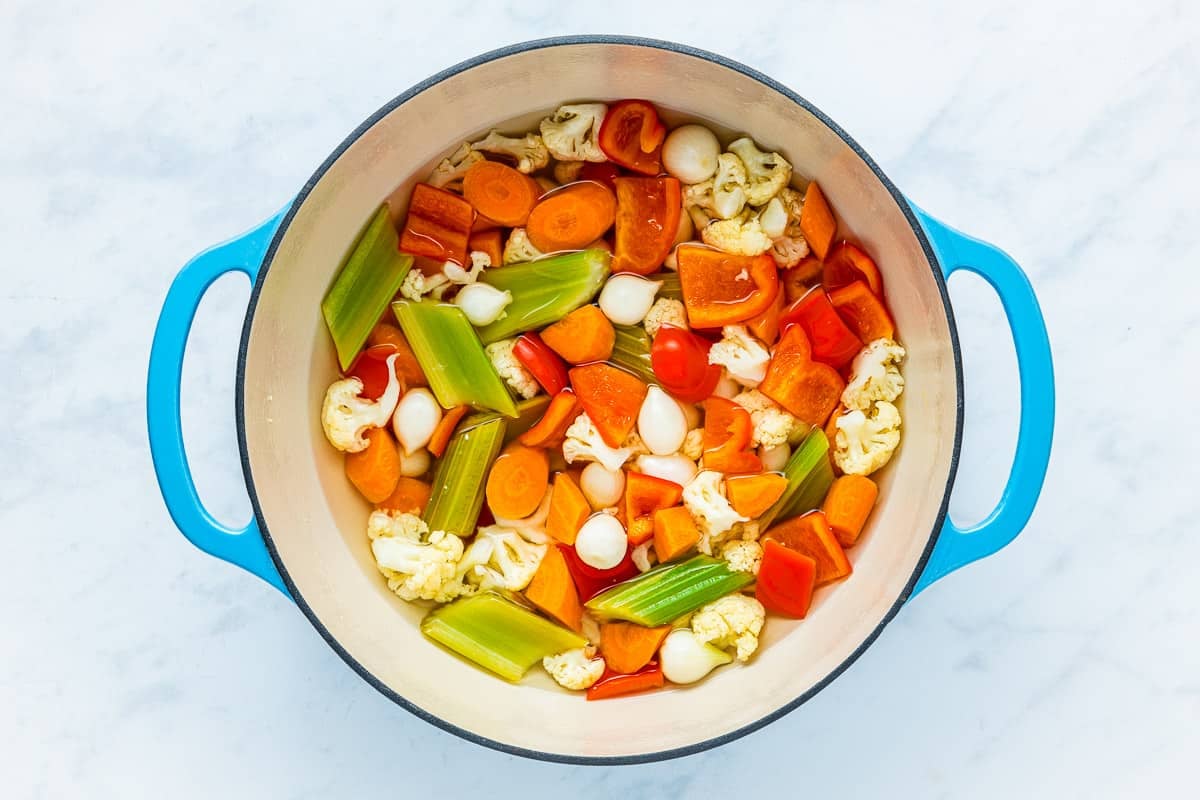
- Make the brine. Combine the vinegars, water, salt, and sugar in a pot large enough to hold the vegetables. Heat on medium, stirring to dissolve the sugar, then raise the heat to medium-high and bring the brine to a boil.
- Steep the vegetables. Put all the vegetables together in a bowl near the stove. Once the brine is boiling, turn off the heat and plunge all the vegetables straight into the brine. Cover the pot and let them steep for just 1 minute, no longer or they will lose their crunch! Then scoop them up with a spider or skimmer and place them in a clean bowl. Save the brine! You’ll need to pour it over the vegetables.

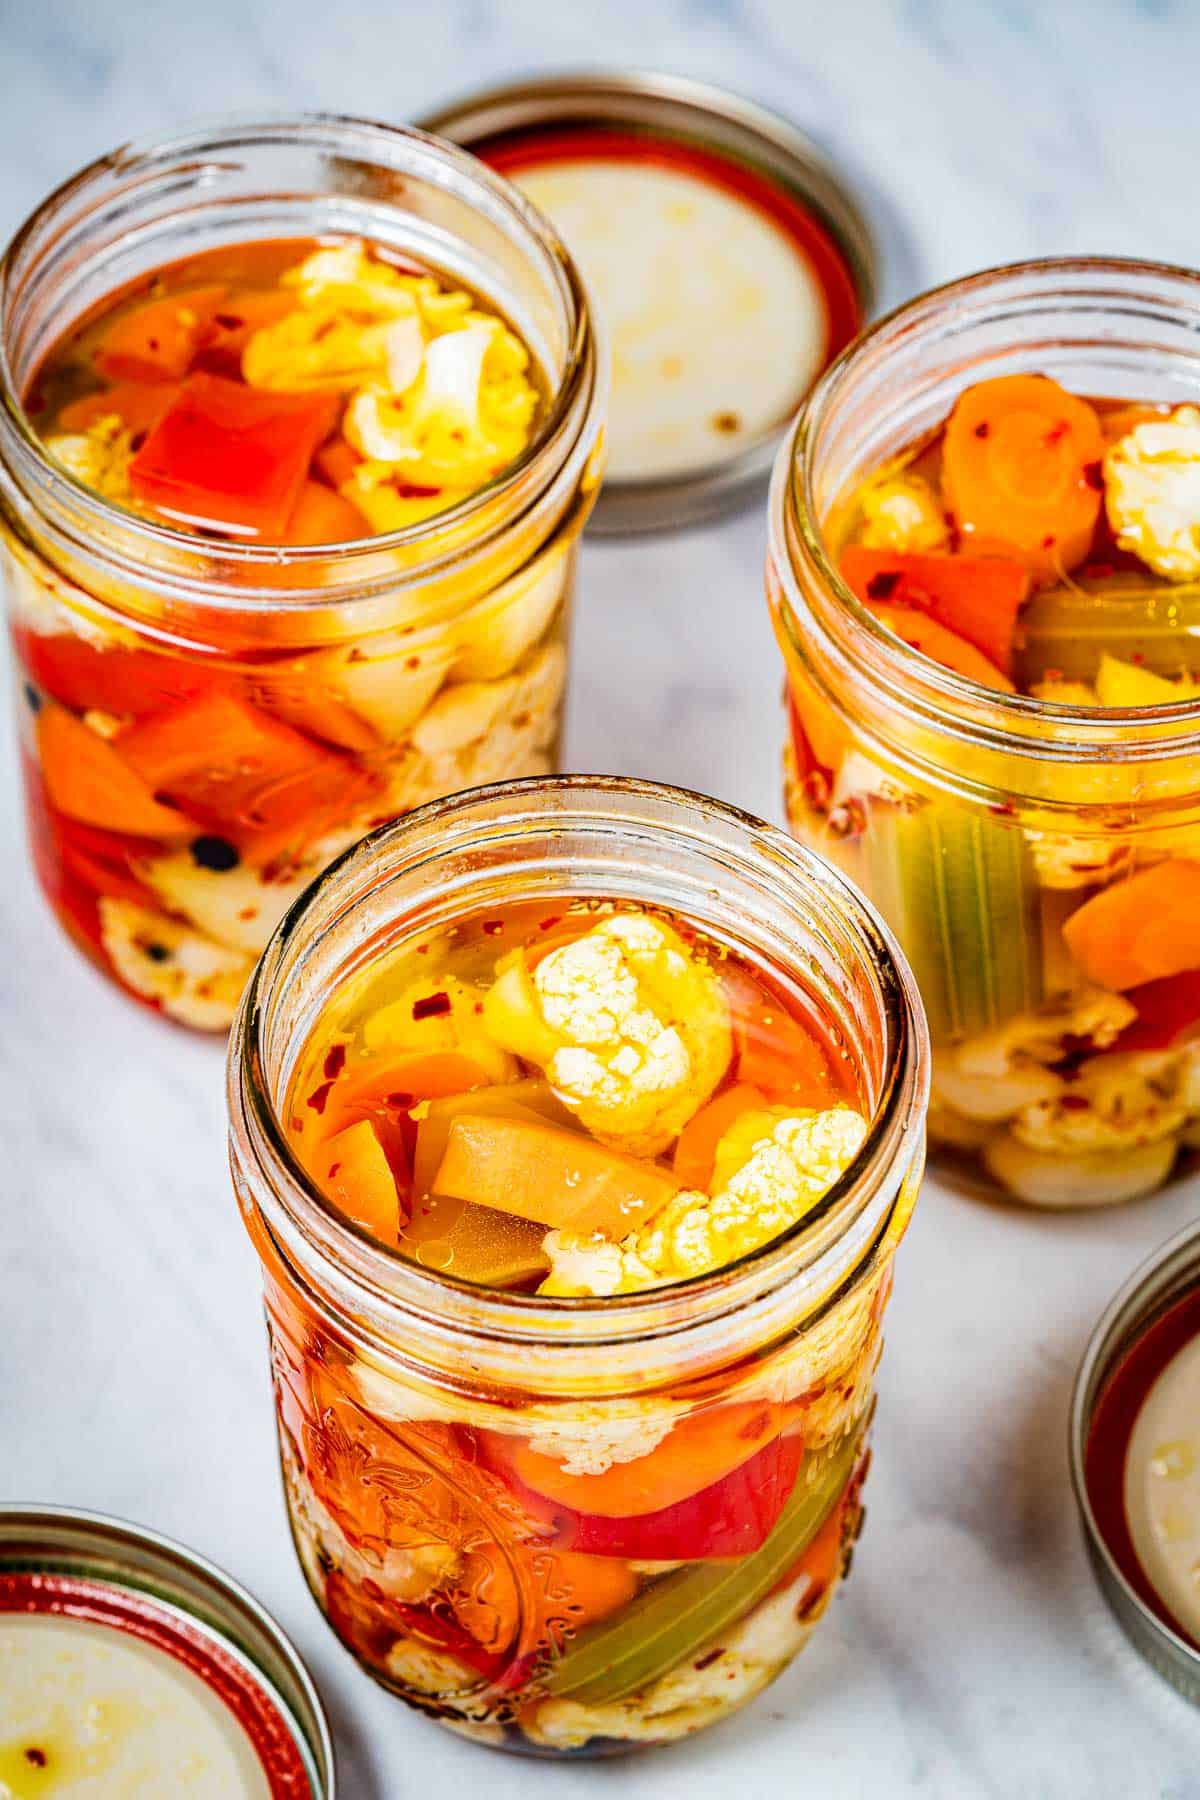
- Add the spices. Combine the peppercorns, crushed red pepper, whole cloves, and juniper berries in a small bowl. Crush in the bay leaf. Divide the spice mixture among 3 clean pint-sized jars, spooning it into the bottom of each jar.
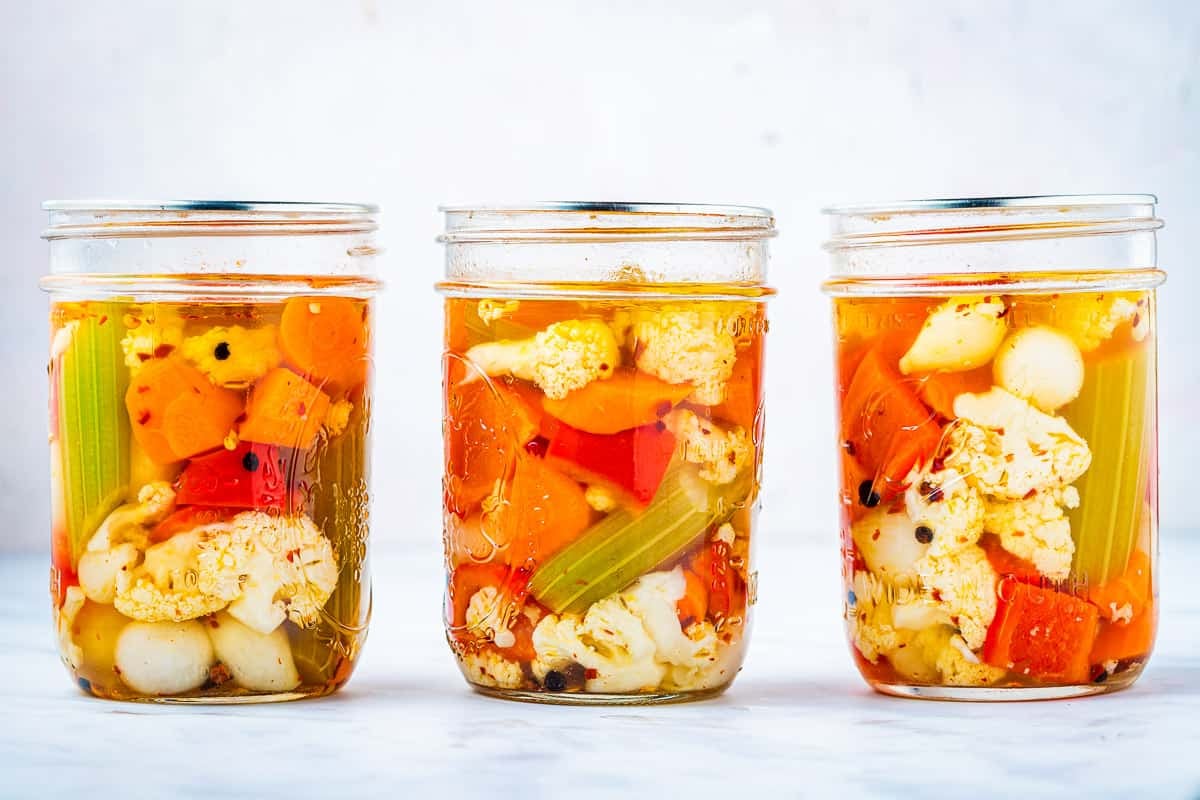
- Fill the jars. Pack the vegetables into the jars, taking care to add a mix into each jar. Pour the brine over the vegetables, leaving about 1/2- to 3/4-inch of space at the top. Spoon a tablespoon of olive oil into each jar and seal. Gently turn the jars upside-down and upright again to encourage the ingredients to mingle.
- Set aside, then enjoy. Let the jars rest at room temperature for 24 hours; then transfer them to the refrigerator. Ideally, let the giardiniera cure for about 1 week before opening a jar.
Variations on Giardiniera
As you may already know, there are lots of variations to giardiniera. Here are some ways you can switch it up.
- Pepperoncini: A lot of Italian-American recipes call for adding those pickled green hot peppers known as “pepperoncini” to the mix. To me, their flavor dominates the fresh flavors of the other vegetables so I leave them out, but that’s a personal preference. If you would like to add them, just tuck a few into each jar, either sliced or whole.
- On the other hand, if you prefer mild giardiniera, skip the pepperoncini and even leave out the crushed red pepper flakes that I use in my version.
- Olives: In New Orleans, green olives are a must-add to giardiniera, which is also called olive salad. It is the key ingredient in a muffuletta sandwich, which combines layers of deli meat and olive salad on sesame bread. For New Orleans-style giardiniera, add some sliced green olives to your veggie mix after the vegetables have had their short steep in brine.
- Chopped Giardiniera: Before packing the vegetables into jars, chop them up coarsely with a chef’s knife. This gives you a better texture for spooning the giardiniera onto burgers or sandwiches.
- Olive oil: For a richer version of giardiniera, add more oil at serving time. Spoon the giardiniera into a serving bowl and drizzle a few spoonfuls of olive oil on top. Toss and serve.
Ways to Enjoy Giardiniera
One of the best features of giardiniera is how versatile it is. In spite of its bold flavors, it goes with a lot and can be served in a variety of ways. Here’s how to enjoy it.
- Serve as part of an Antipasto Platter. Spoon it into a bowl and place it in the center of a large board or platter. Fill the board with your favorite cured meats, such as prosciutto, salami, soppressata, and a mix of cheeses like mozzarella, Asiago, Gorgonzola, and provolone. Check out our Antipasto Platter recipe for more recommendations.
- Add brightness to your favorite sandwiches. Chopped giardiniera is great on all kinds of sandwiches, not just a typical Chicago beef sandwich. Try it on a ham sandwich or chopped up into tuna salad, chicken salad, or egg salad. Try it if you haven’t already.
- Make it into a simple side dish. When I’m pressed for time, I pull a jar of giardiniera out of the fridge and use it as a quick side dish. Try it with these juicy Pork Chops with Bay Leaf and Lemon Slices or this Mediterranean Vegetable Frittata.
How to Store Giardiniera
You can hot water bath can Giardiniera, however, in this simplified version, I skip the canning process and refrigerate the jars instead. They keep a good long while—up to 3 months if stored properly.
- Always keep giardiniera stored in the fridge
- Use a clean spoon or fork whenever you want to dip into a jar.
- Close the jar tightly before returning it to the fridge.
For longer storage at room temperature, process the jars of giardiniera in a boiling water bath for 10 minutes to properly seal the lids and do not add additional oil. I include specific instructions for water bath canning in my book Preserving Italy. Heat sealed jars of giardiniera will keep for up to a year, though the vegetables will begin to lose their crunch after about six months.
More Crunchy-Punchy Pickles
Dips and Condiments
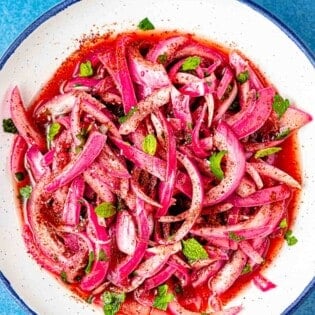
Pickled Red Onions
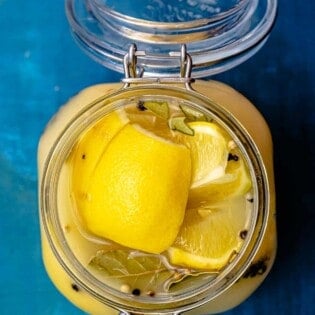
Moroccan and Tunisian
Preserved Lemons
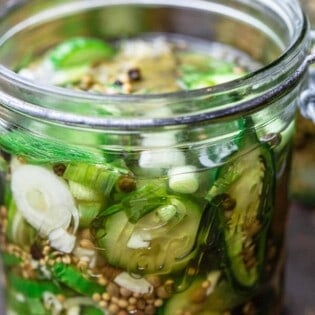
Dips and Condiments
Quick Pickled Cucumber Recipe
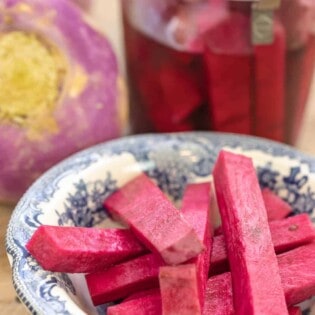
Dips and Condiments
Middle Eastern Pickled Turnips Recipe
Browse all Mediterranean recipes.
Visit Our Shop
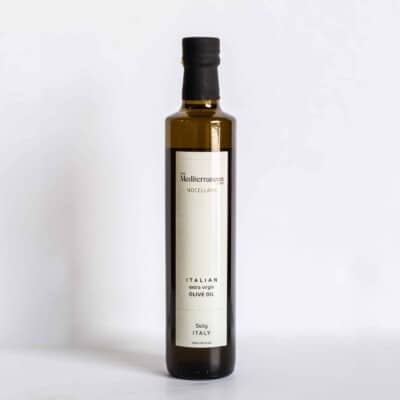
Make Authentic Giardiniera with Italian EVOO
Extra Virgin Olive Oil from hand-picked, cold-extracted Nocellara olives.
Equipment
- 3 clean pint-sized jars with screw-top lids
Ingredients
- 3/4 pound cauliflower (about 1 small or 1/2 medium head), separated into bite-sized florets
- 1/2 pound firm carrots (about 2-4), sliced on the bias into big bite-sized pieces
- 2 firm celery stalks, sliced on the bias into 2-inch pieces
- 1/4 pound pearl or small cipollini onions, peeled and left whole
- 1 red bell pepper, sliced into strips or 1-inch rectangles
- 1 cup white wine vinegar
- 1 cup distilled white vinegar
- 1 cup spring water or filtered tap water
- 1 tablespoon kosher salt
- 1 tablespoon sugar
- 1/2 teaspoon whole black peppercorns
- 1/2 teaspoon red pepper flakes
- 1/4 teaspoon whole cloves
- 1/4 teaspoon whole juniper berries
- 1 dried bay leaf
- 3 tablespoons extra-virgin olive oil
Instructions
- Get ready. Place the washed, sliced vegetables in a large mixing bowl.
- Make the pickling liquid. In a saucepan or pot large enough to hold all the vegetables, combine the white wine vinegar, distilled vinegar, and water. Stir in the salt and sugar and set the pot over medium heat. Once the salt and sugar have dissolved, raise the heat to medium-high and bring the brine to a boil. Let the liquid boil for 3 full minutes.
- Briefly hot-pickle the vegetables. Turn off the heat and carefully add the vegetables. Cover and let steep for 1 minute. Then use a large spider or skimmer to scoop the vegetables back into the mixing bowl. Reserve the brine.
- Ready your seasonings. In a small bowl, add the peppercorns, red pepper flakes, cloves, juniper berries. Crumble in the bay leaf with your hands and toss to combine. Divide the spice mix among the three pint-sized jars.
- Add the vegetables. Pack the vegetables into the jars. Take care to add a mix of each vegetable to each jar and pack them in as tightly as you can. Pour the brine over the vegetables, leaving about 1/2-inch to 3/4-inch of space at the top. Spoon 1 tablespoon of olive oil into each jar and screw the lids on tightly. Gently turn the jars upside-down and upright again once or twice to encourage the ingredients to mingle. Let the jars sit upright at room temperature for 24 hours.
- Store: Place the jars in the refrigerator and enjoy for up to 3 months. For maximum flavor, let the giardiniera sit for a week before using.
Video
Notes
- Giardiniera keeps fresh for up to 3 months if stored properly. Always use a clean utensil whenever you want to dip into a jar and close the jar tightly before returning it to the fridge.
- Feel free to mix things up with your favorite vegetables or other additions, like pepperoncini or olives.
- Visit our shop to browse quality Mediterranean ingredients including olive oils, honey, jams and spices.
I just finished the first batch. I used turnip root, carrots, cucumber, cauliflower, and red bell pepper. It looks great, but I did have to make another batch of brine because I cut up way too many vegetables. I ended up with 4 pint jars and one quart jar. Had a handful of veggies tossed in the brine leftover, and I ate them all. They were really good even without sitting in the jar for a few days. I’m going to start having it for breakfast. I had some giardianeri from the market for breakfast this morning and I really loved it.
To preserve longer, place the sealed jars in boiling water and boil for ten minutes. This way, they can be kept on the shelf for months without refrigeration. If unsure how to do it, just look up jarring.
Can you use apple cider vinegar instead?
Hi, Min. Sure, you can try apple cider vinegar here. It will likely give the pickled vegetables a slightly sweeter and fruitier flavor. If you give it a go, please come back and let us know your thoughts!
When adding the vegetables to the brine to seep, does the brine need to cover the vegetables?
Hi, Dave. Yes, you’ll want to cover the vegetables with the pickling liquid.
what if I didn’t have enough brine, is it ok to just leave it like that or does the giardiniera have to be totally submerged?
Hello! You do want to totally submerge the veggies here. If there’s not enough brine to cover your giardiniera vegetables, you can add more water to top up the brine.
Hey, thanks for the recipe – was nice and easy to make. My brine has not covered the vegetables, I have added the noted amount of olive oil but not entirely covering all the veg, should I top up with oil to completely cover?
Huge thanks, L
Hi, Lisa! I’m Summer and I work here at The Mediterranean Dish. I checked with Domenica, the writer who created this recipe and this is what she had to say,”This is a good question, as I have never had an issue with the amount of brine before. Yes, she can just top off the jars with more olive oil. If she were going to process the jars in a water bath, I would advise against this, as olive oil can compromise the seal. But since this is a refrigerator giardiniera, that is not a problem. In fact, the olive oil does a really nice job of cutting the acidity of the pickled vegetables.”
I hope this helps. Enjoy! This is a favorite recipe of mine as well!
Wonderful recipe. Turned out perfectly, lasted for 3 months. My friends and family loved eating it. Thank you .
Wonderful! Thanks, Marie!
I didn’t have any particular expectations other than thinking it would probably be a small step up from the store version. Omg – zero comparison. This recipe is leaps and bounds above that. My pickle loving family took one bite and raved! I didn’t have cloves or juniper berries so I added some rosemary. I’m off to the store tomorrow to get cloves and juniper berries and tons of vegetables. Thanks!!!
LOVE this! Thanks so much for the great review!!
Hi! Can’t wait to try! Should we pour the brine hot into the jars or wait until it’s cool?
Thanks & Merry Christmas
Hi, Anna. You can pour it on right away. No need to let it cool.
Bongiorno Y’all mom made this every late summer and fall. Im 80 so that was a long time ago. been pickling peppers this season several quarts. I grow 12 kinds from all over the world , I remember Eggplant strips in small jars in da fridge looked like they were in a clear liquid maybe just salted water. do you have Idea on that. Chow
Bongiorno, Joseph! You sound like quite a gardener :). I think the eggplant strips your referring to are simply pickled eggplant. We don’t have a recipe for that one quite yet on the website, but we have some other good pickling recipes like Quick Pickled Cucumbers and Pickled Turnips and Pickled Red Onions. Hope you check them out!
Si , Thank you so very much for answering mt post , most folks don’t bother , love my garden fishing a nd Prayer Power . this spring growing 21 varieties of peppers from diff parts of the world and 6 of tomato , 5 kind carrots , 4 kind chard ,oriental greens ,beans 6 kinds Italian squash and much more. things you can’t buy unless you live in those countries , if y’all have a garden , Bakers Creek seed, growly for tomato plants, chili plants.com for peppers check them out , PeaceBeWithYou “
Hi, Joseph! I’m Summer and I work here at The Mediterranean Dish. I’m a gardener too! I LOVE Bakers Creek Seed Company. You can get so many interesting plants. Glad you’re finding a way to put them all too good use!
I have tried to make this several other times, and it did not turn out well at all. This recipe is amazing. I have already eaten half of it. I don’t think it’s gonna make it the week it says to let it sit.
So glad to hear our version worked well for you, Joy!
Hey, it says to only “cook” the vegetables for 1 minute before removing from the hot pan.
Is that correct or should it be longer?
Thanks
Hi, Andy. 1 minute is correct. Any longer than that, and they’ll loose their crunch.
I haven’t made this yet, but would thawed frozen pearl onions work in this? I don’t have access to fresh pearl onion where I am at.
Thank you!
-Dan
Hi, Dan! I’m Summer and I work here at The Mediterranean Dish. You can certainly use thawed pearl onions. They may not be as crisp as fresh would be but they will still work. Good luck and please report back on how it goes!
Ok. Made this today. Dumb question from someone who digs fermentation (pantry always has some kind of smell), why do we leave it out a day? This doesn’t use lactobacillus so?
Just wondering what sorcery the 24hrs on the counter does.
Thanks!
Hi, Dan! I reached out to Domenica, the person who wrote the recipe, and she said it’s just something she always does to let the flavors marry, but she’s not sure if it makes any difference one way or the other. It’s a leftover habit from when she learned how to preserve food.