



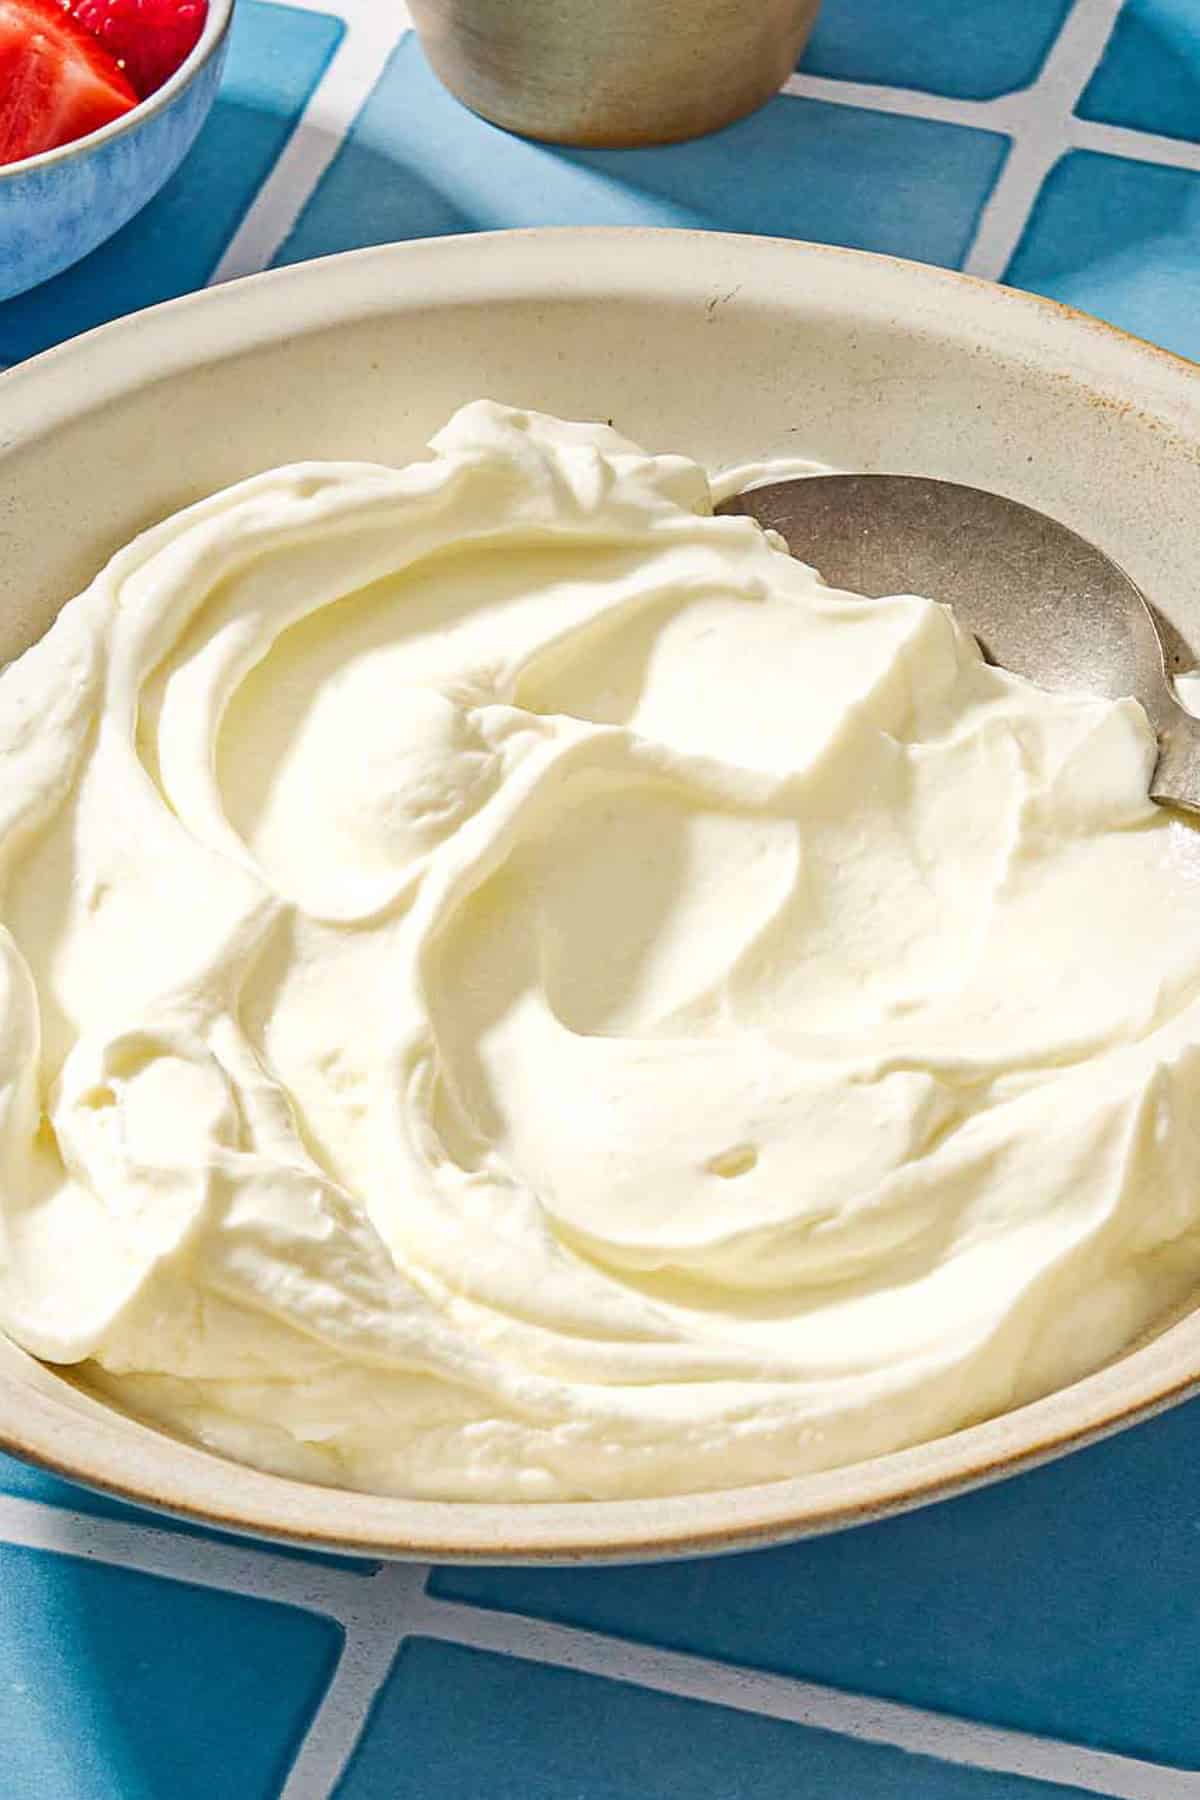
Learn how to make Greek yogurt with just milk and plain yogurt, no special cultures or yogurt maker required.
Why Homemade Greek Yogurt Is Worth the Wait
I would be hard-pressed to think of another recipe that transforms two everyday ingredients so completely. I’ve found that you don’t need a yogurt maker or expensive incubator to make creamy Greek yogurt at home—just a heavy pot, a thermometer, a strainer, and time.
Plan on about 16 hours 30 minutes from start to finish, though the active work takes only about 30 minutes. Most of that time is hands-off as the yogurt cultures, chills, and strains until it is as thick as you like. Strain it longer for a luscious texture that is so creamy it’s almost spreadable.
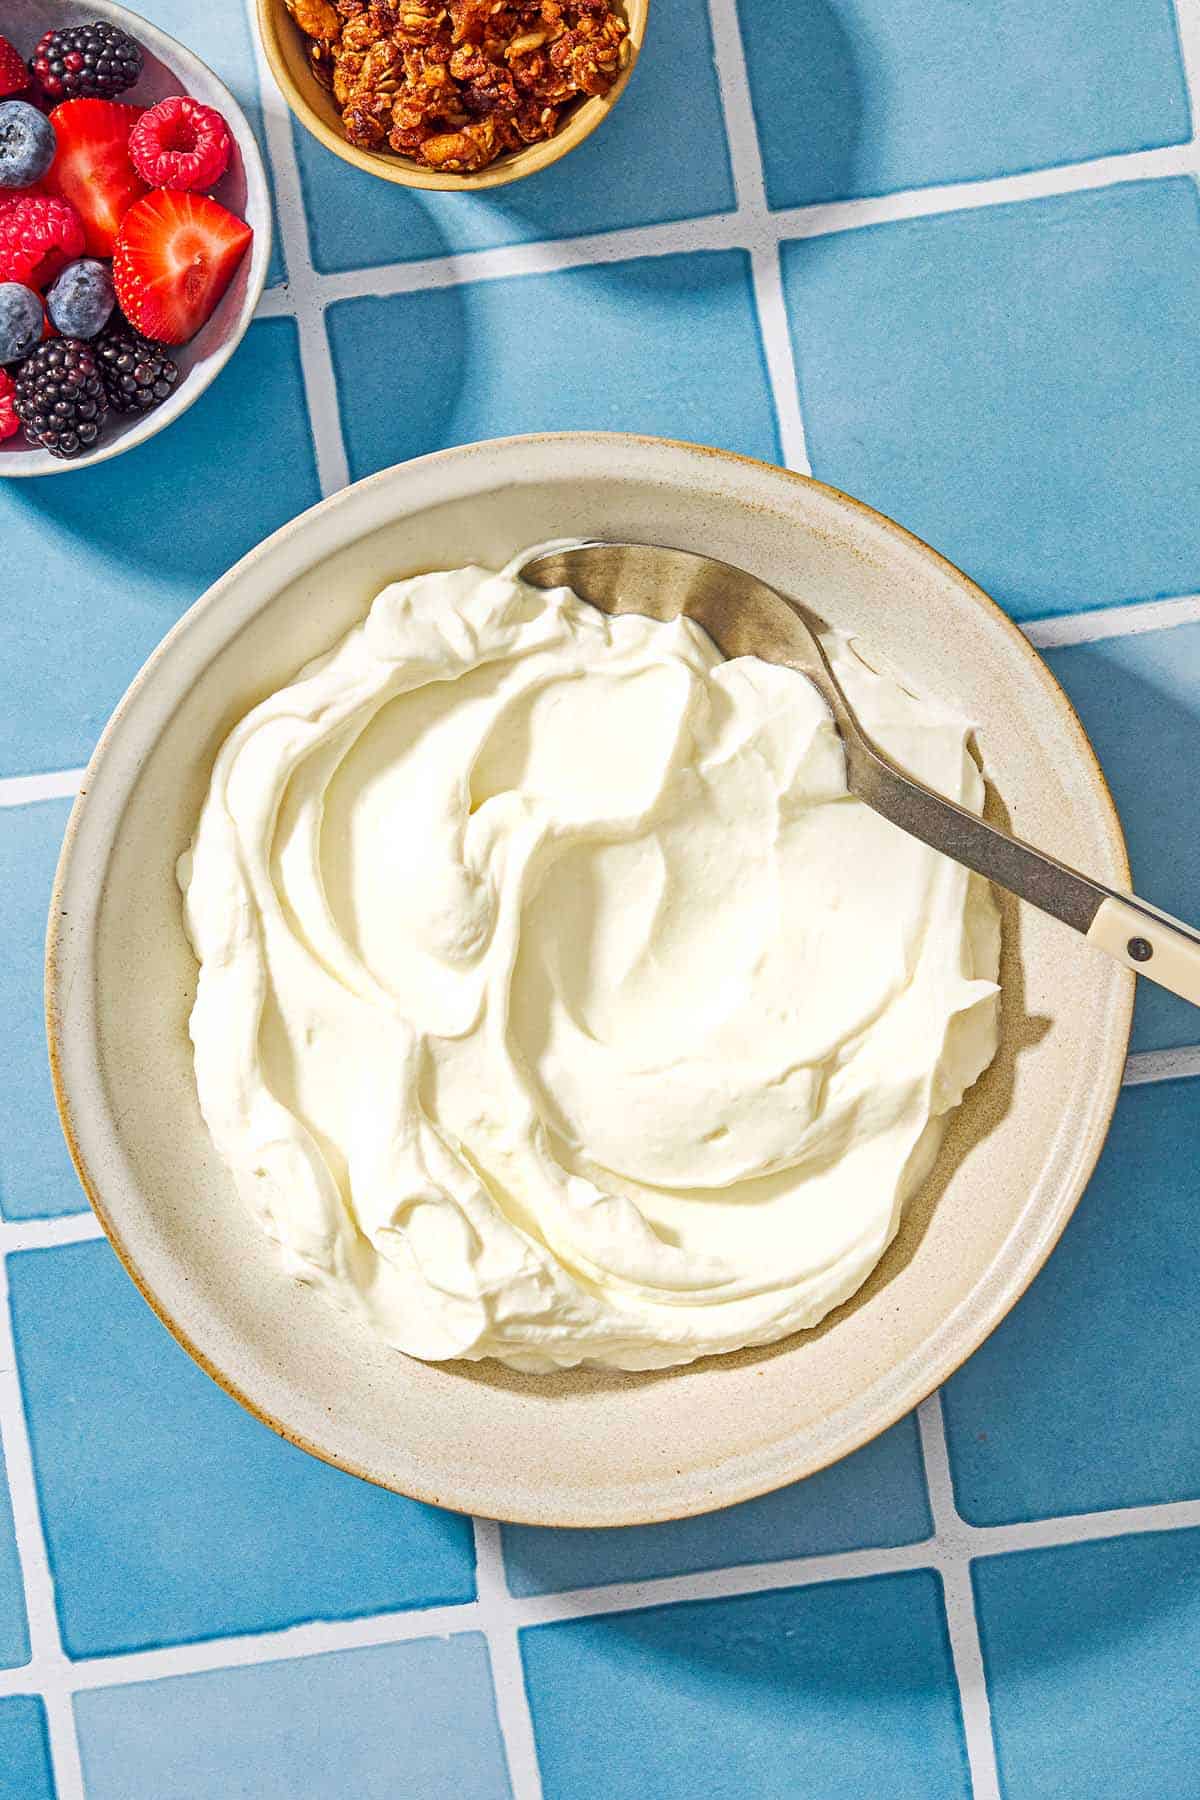
Making your own can also be economical, especially if yogurt is on repeat in your kitchen: 1/2 gallon of milk yields about 6.5 cups of Greek yogurt. Enjoy it simply with honey, fruit, and granola, or use it in everything from breakfast and dips to marinades, soups, and cakes.
What’s the Difference Between Greek Yogurt and Regular Yogurt?
The defining difference between Greek yogurt and regular yogurt is straining. Greek yogurt is regular yogurt that has been strained to remove some of the whey—the pale yellow liquid that naturally separates from yogurt. As that liquid drains away, the yogurt becomes thicker, creamier, and more concentrated.
Can You Make Greek Yogurt from Regular Yogurt?
Yes. Any plain yogurt, whether homemade or store-bought, can be transformed into Greek yogurt. Spoon it into a cheesecloth-lined fine-mesh strainer set over a bowl and leave it in the refrigerator until it reaches your preferred consistency.
For this recipe, strain the yogurt for 2 to 8 hours. The longer it drains, the thicker it becomes. You can discard the collected whey or use it in place of water in a bread recipe.
If you add salt and strain the yogurt even longer, you’ll end up with labneh, a creamy Middle Eastern strained-yogurt spread.
Ingredients for Homemade Greek Yogurt
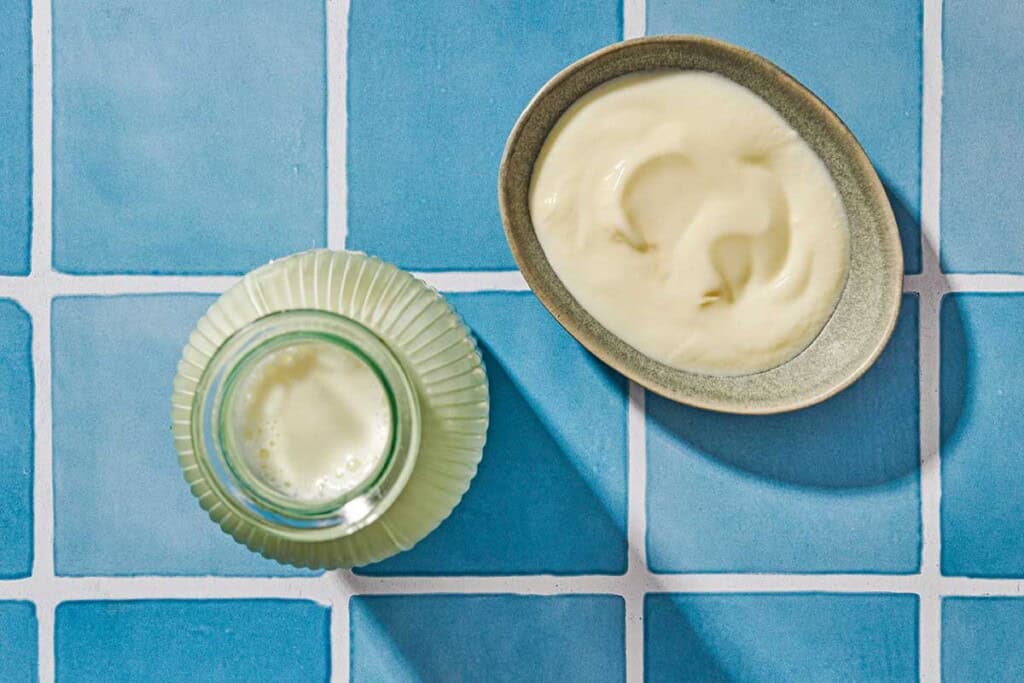
You need just two ingredients to make homemade Greek yogurt. Because the list is so short, choosing the right milk and starter makes a difference.
- Milk: You’ll need 1/2 gallon (8 cups) of whole or 2% dairy milk. I prefer whole, pasteurized, organic milk for its rich flavor and creamy texture, but 2% milk also works well. Skim milk will produce a thinner yogurt. I do not recommend using plant-based milk for this recipe.
- Plain yogurt with live active cultures: This is your starter, which introduces the beneficial bacteria that ferment the milk and give yogurt its tangy flavor and thick texture. Use 1/4 cup of plain regular or Greek yogurt, and check the label to confirm that it contains “live active cultures.” Let it come to room temperature before adding it to the warm milk.

Equipment You’ll Need
You do not need a yogurt maker, bread proofer, or other specialty appliance. These basic kitchen tools will help you control the temperature and strain the finished yogurt:
- A heavy-bottomed 3- to 4-quart pot with a lid: I often use an enameled cast-iron Dutch oven. A heavy pot retains warmth well, helping keep the milk at a steady temperature while the cultures work.
- An instant-read thermometer: Temperature is important when making yogurt. If the milk is too hot when you add the starter, it can deactivate the live cultures. If it is too cool, the yogurt may not set properly.
- A fine-mesh strainer or colander, a large bowl, and cheesecloth: Set the strainer over the bowl to collect the whey as the yogurt drains. If you don’t have cheesecloth, use a clean flour-sack towel, thick paper towels, or large paper coffee filters.
How to Make Greek Yogurt
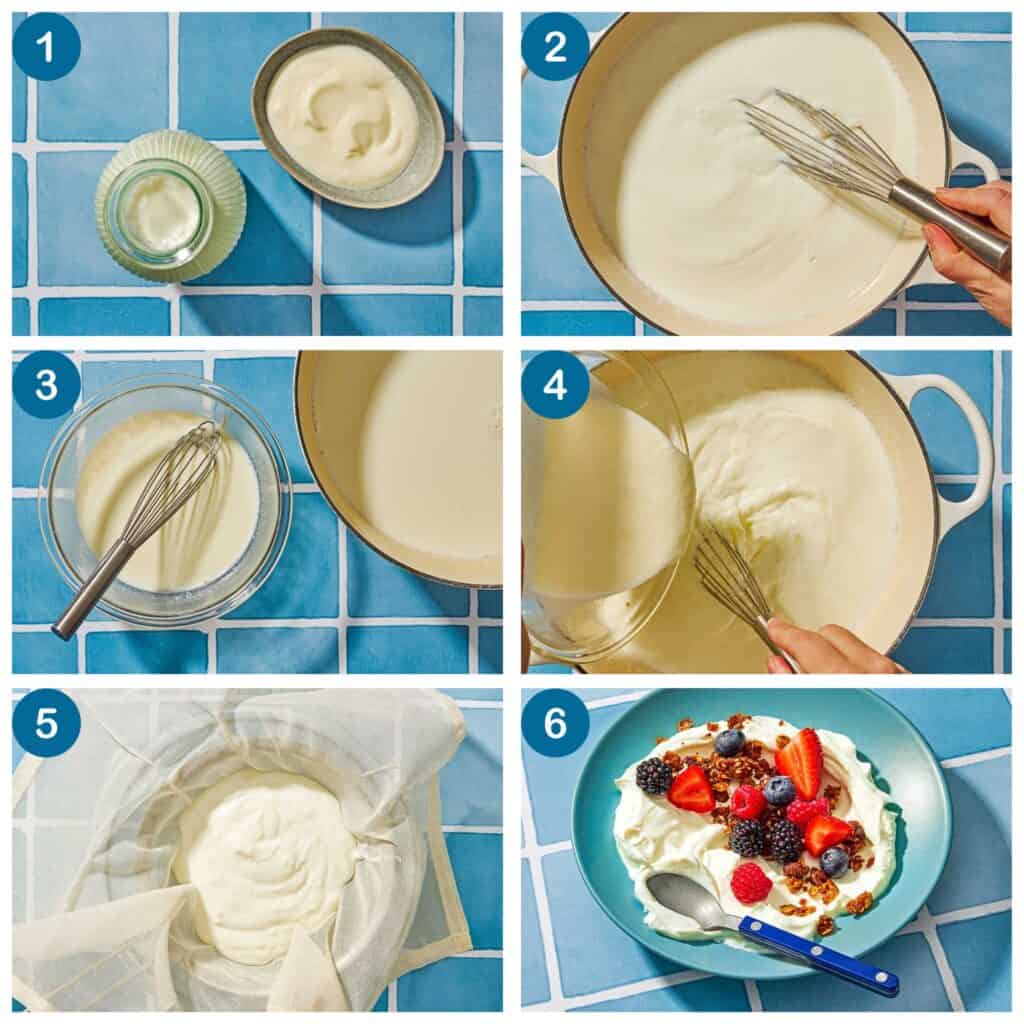
Yogurt forms when live cultures ferment the lactose in milk, producing lactic acid. This process gives yogurt its characteristic tang and thickens the milk. Here’s how to do it:
- Heat the milk. Rinse the inside of a heavy 3- to 4-quart pot with cold water to help prevent scorching. Add 1/2 gallon (8 cups) whole or 2% milk and set the pot over medium heat. Bring the milk to a gentle simmer, stirring occasionally, about 15 minutes. When bubbles begin forming around the edges, check the temperature. Once it reaches 190°F to 200°F, remove the pot from the heat.
- Cool the milk. Let the milk cool in the pot, stirring occasionally, until it reaches 105°F to 115°F. If it drops below that range, gently reheat it. While the milk cools, place 1/4 cup plain yogurt with live active cultures in a small heatproof bowl and let it come to room temperature.
- Temper the yogurt starter. Slowly stir 1/2 cup of the warm milk into the starter yogurt to thin it and bring it closer to the milk’s temperature. Slowly stir this mixture back into the pot, distributing the cultures throughout the milk.
- Incubate the yogurt. Cover the pot and place it in a warm spot. Leave it completely undisturbed for at least 6 and up to 10 hours. The exact time will depend on the temperature of the room. It is ready to chill when it looks somewhat set rather than liquid.
- Chill without disturbing. Place the covered pot in the refrigerator and chill for at least 6 hours and up to 2 days. During this time, the yogurt will continue to thicken and develop its tangy flavor.
- Strain the yogurt. Set a fine-mesh strainer or colander over a large bowl and line it with finely woven cheesecloth. Spoon in the chilled yogurt and return it to the refrigerator. Let it drain for 2 to 8 hours, depending on how thick you like your Greek yogurt.
- Store. Transfer the strained yogurt to airtight containers. Cover and refrigerate for up to 2 weeks.
Tips for Successful Homemade Greek Yogurt
- Check your starter yogurt: Look for “live active cultures” on the label. Plain regular or Greek yogurt will work, but it must contain active cultures to ferment the milk.
- Bring the starter to room temperature: Cold yogurt can lower the milk’s temperature. Set out your measured 1/4 cup while the heated milk cools.
- Don’t skip heating the milk: Heating the milk to 190°F to 200°F changes its proteins, helping the finished yogurt set with a thicker, smoother texture. Let it cool to 105°F to 115°F before adding the starter so the heat does not deactivate the cultures.
- Keep the yogurt warm while it incubates: The ideal incubation temperature is 108°F to 112°F. Wrap the covered pot in a large, clean towel, use your oven’s bread-proofing setting, or briefly warm the oven on its lowest setting and then turn it completely off. Place the pot inside with the oven light on for gentle warmth.
- Leave it undisturbed: Moving or stirring the pot while the yogurt cultures can interfere with how it sets. Wait until it looks somewhat firm before transferring the entire pot to the refrigerator.
- Use an ice bath to cool the milk faster: Set the pot in an ice bath and stir occasionally. Remove it from the ice bath when the milk reaches 112°F.
- Save starter for your next batch: Reserve 1/4 cup of your finished yogurt in an airtight container. Refrigerate it and use it within one week, while the cultures are still active.
Greek Yogurt Variations
Once the yogurt has finished culturing and chilling, you can adjust it to suit how you plan to use it:
- Add fruit or sweetness: Serve the finished yogurt with fresh fruit, or stir in a little honey or jam. Wait until the yogurt is completely finished before adding any flavorings.
- Make regular yogurt instead: Skip the straining step. The recipe will yield about 8 cups of regular yogurt. Some whey will naturally separate as it sits in the refrigerator; either pour it off or stir it back into the yogurt.
Troubleshooting Homemade Greek Yogurt
Even when a batch does not set exactly as expected, you may still be able to put it to good use.
- The yogurt is runny: The incubation temperature may have been too low for the cultures to ferment the milk properly. The starter could also have been inactive, or the milk may have been too hot when you added it. Use runny yogurt as you would buttermilk in plum cake or roasted garlic mashed potatoes.
- The yogurt is too sour: It likely cultured for too long. The longer yogurt ferments, the more tangy it becomes. A strongly flavored batch works well in a yogurt-marinated chicken recipe.
- The yogurt is gritty rather than smooth: The milk may have scorched, causing its proteins to seize, or the yogurt may have become too warm while culturing. Put it to work in a cake where the texture will not be noticeable, such as orange cake or pistachio cake.
Discard homemade yogurt if you see mold or other visible microbial growth, or if it develops an odor beyond yogurt’s normal clean, acidic tang.
How to Use Homemade Greek Yogurt
Homemade Greek yogurt works in both sweet and savory recipes. Its creamy texture and gentle tang make it useful from breakfast through dessert.
- For dessert: Transform a batch into fruit-filled homemade frozen yogurt, or use it to bring moisture and gentle tang to a yogurt cake.
- For breakfast or a snack: Top a bowl with fruit, honey, and crunchy olive oil granola, or add a swirl of date caramel. You can also layer it into a yogurt parfait with berry compote.
- For dips and sauces: Turn it into cooling tzatziki sauce or use it as the creamy base for this vibrant spinach yogurt dip.
- With savory meals: Add a dollop to sweet potato soup for creamy contrast, or use it in dressings, marinades, and sauces.
Make Ahead and Storage
- Plan ahead: Homemade Greek yogurt takes about 16 hours from start to finish, but most of that time is inactive. After culturing, you can keep the covered pot in the refrigerator for at least 6 hours and up to 2 days before straining.
- To store: Transfer the finished Greek yogurt to airtight containers and refrigerate for up to 2 weeks.
- To make another batch: Reserve 1/4 cup of the finished yogurt to use as your next starter. Keep it refrigerated in an airtight container and use it within one week.
Put Your Homemade Greek Yogurt to Work!






Equipment
Ingredients
- 1/2 gallon milk, whole or 2% (8 cups)
- 1/4 cup plain yogurt with live active cultures, at room temperature
Instructions
- Heat the milk. Rinse the inside of a heavy 3- to 4-quart pot with a lid with cold water to help prevent scorching. Add the milk and place the pot over medium heat. Bring to a gentle simmer, stirring occasionally, about 15 minutes. When bubbles begin forming around the edges, check the temperature. Once the milk reaches 190°F to 200°F, remove the pot from the heat.
- Cool the milk. Let the milk cool in the pot, stirring occasionally, until it reaches 105°F to 115°F. If it drops below that range, gently reheat it. Place the room-temperature yogurt in a small heatproof bowl.
- Temper the starter. Slowly stir 1/2 cup of the warm milk into the yogurt to thin it. Slowly stir this mixture back into the pot, distributing the cultures throughout the milk.
- Incubate the yogurt. Cover the pot and place it in a warm spot. Leave it undisturbed for at least 6 and up to 10 hours. The exact time will depend on the temperature of the room. It is ready to chill when it looks somewhat set rather than liquid.
- Chill without disturbing. Transfer the covered pot to the refrigerator and chill for at least 6 hours and up to 2 days. The yogurt will continue to thicken and develop its tangy flavor.
- Strain the yogurt. Set a fine-mesh strainer or colander over a large bowl and line it with finely woven cheesecloth. Spoon in the chilled yogurt and return it to the refrigerator. Let it drain for 2 to 8 hours, depending on how thick you like your Greek yogurt.
- Store and enjoy. Transfer the strained yogurt to airtight containers. Cover and refrigerate for up to 2 weeks.
Notes
- Shop this recipe: Visit our shop to browse Greek honey and fruit preserves to serve with your homemade yogurt.
- Why heat the milk? Heating pasteurized milk to 190°F to 200°F changes its proteins, helping the finished yogurt set with a thicker, smoother texture.
- To cool the milk faster: Place the pot in an ice bath. Remove it when the milk reaches 112°F.
- To make regular yogurt: Skip the straining step. This recipe will yield about 8 cups of unstrained yogurt. Pour off any whey that separates or stir it back in.
- To save starter: Reserve 1/4 cup of the finished yogurt in an airtight container. Refrigerate and use it within one week.
- To store: Keep the finished Greek yogurt covered and refrigerated for up to 2 weeks.
Nutrition
Get The Mediterranean Dish Cookbook
More than 120 recipes for bright and flavorful Mediterranean diet-inspired meals.


Does this recipe work with fat-free milk?
You can try it, Biana. It will just result in a thin yogurt.
Wow! Thank you for this recipe. I had no idea making our own yoghurt would be so easy! I used whole milk from my local dairy farmer and the texture and taste of the yoghurt is fabulous!
Sounds so fresh and delicious!
This just works every time. I use 2% milk and comes out great.
So great to hear! Thanks, Ken!
Thank you for the tips of making greek yogurt. I will try to do it .
This turned out perfectly! I used a cast iron pot and kept it in the oven rolled in a towel for 6 hours. The texture was perfect and the taste was very mild, not funky. Thank you so much!
Yay! Great to hear this worked out well for you, Bianca!
Dear Editor,
I am writing to address an important omission in your article on Greek yogurt published on Verywell Health.
While the nutritional and technical aspects of the article are accurate, the historical context is incomplete and potentially misleading. The term “Greek yogurt” is presented in a way that may lead readers to assume a Greek origin of yogurt itself, which is not historically supported.
Yogurt is widely recognized by historians and linguists as originating among Central Asian Turkic peoples. Furthermore, the word “yogurt” is derived from the Turkish verb “yoğurmak,” meaning to thicken or curdle. This linguistic evidence strongly supports its Turkish origin.
What is commonly referred to today as “Greek yogurt” is simply a strained form of yogurt, a method that has long been used across various regions including Turkey, the Balkans, and the Middle East. The labeling of this product as “Greek” reflects modern marketing terminology rather than a distinct cultural or historical origin.
For the sake of accuracy and academic integrity, I kindly suggest that your article be updated to include this historical background. Providing readers with a more complete context would greatly enhance the credibility and educational value of your content.
Thank you for your attention to this matter.
Sincerely,