

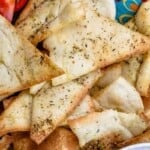
This recipe is all you need to make the BEST crispy homemade pita chips! And you can season them any which way you like. Keep them on hand to use as a snack or to serve with your favorite dips and salsas.
Check out the tips and video below for how to make pita chips!
When I make pita bread, I often turn leftovers into cinnamon-y churro chips or savory baked chips–brushed with extra virgin olive oil and dusted with kosher salt. Addictive!
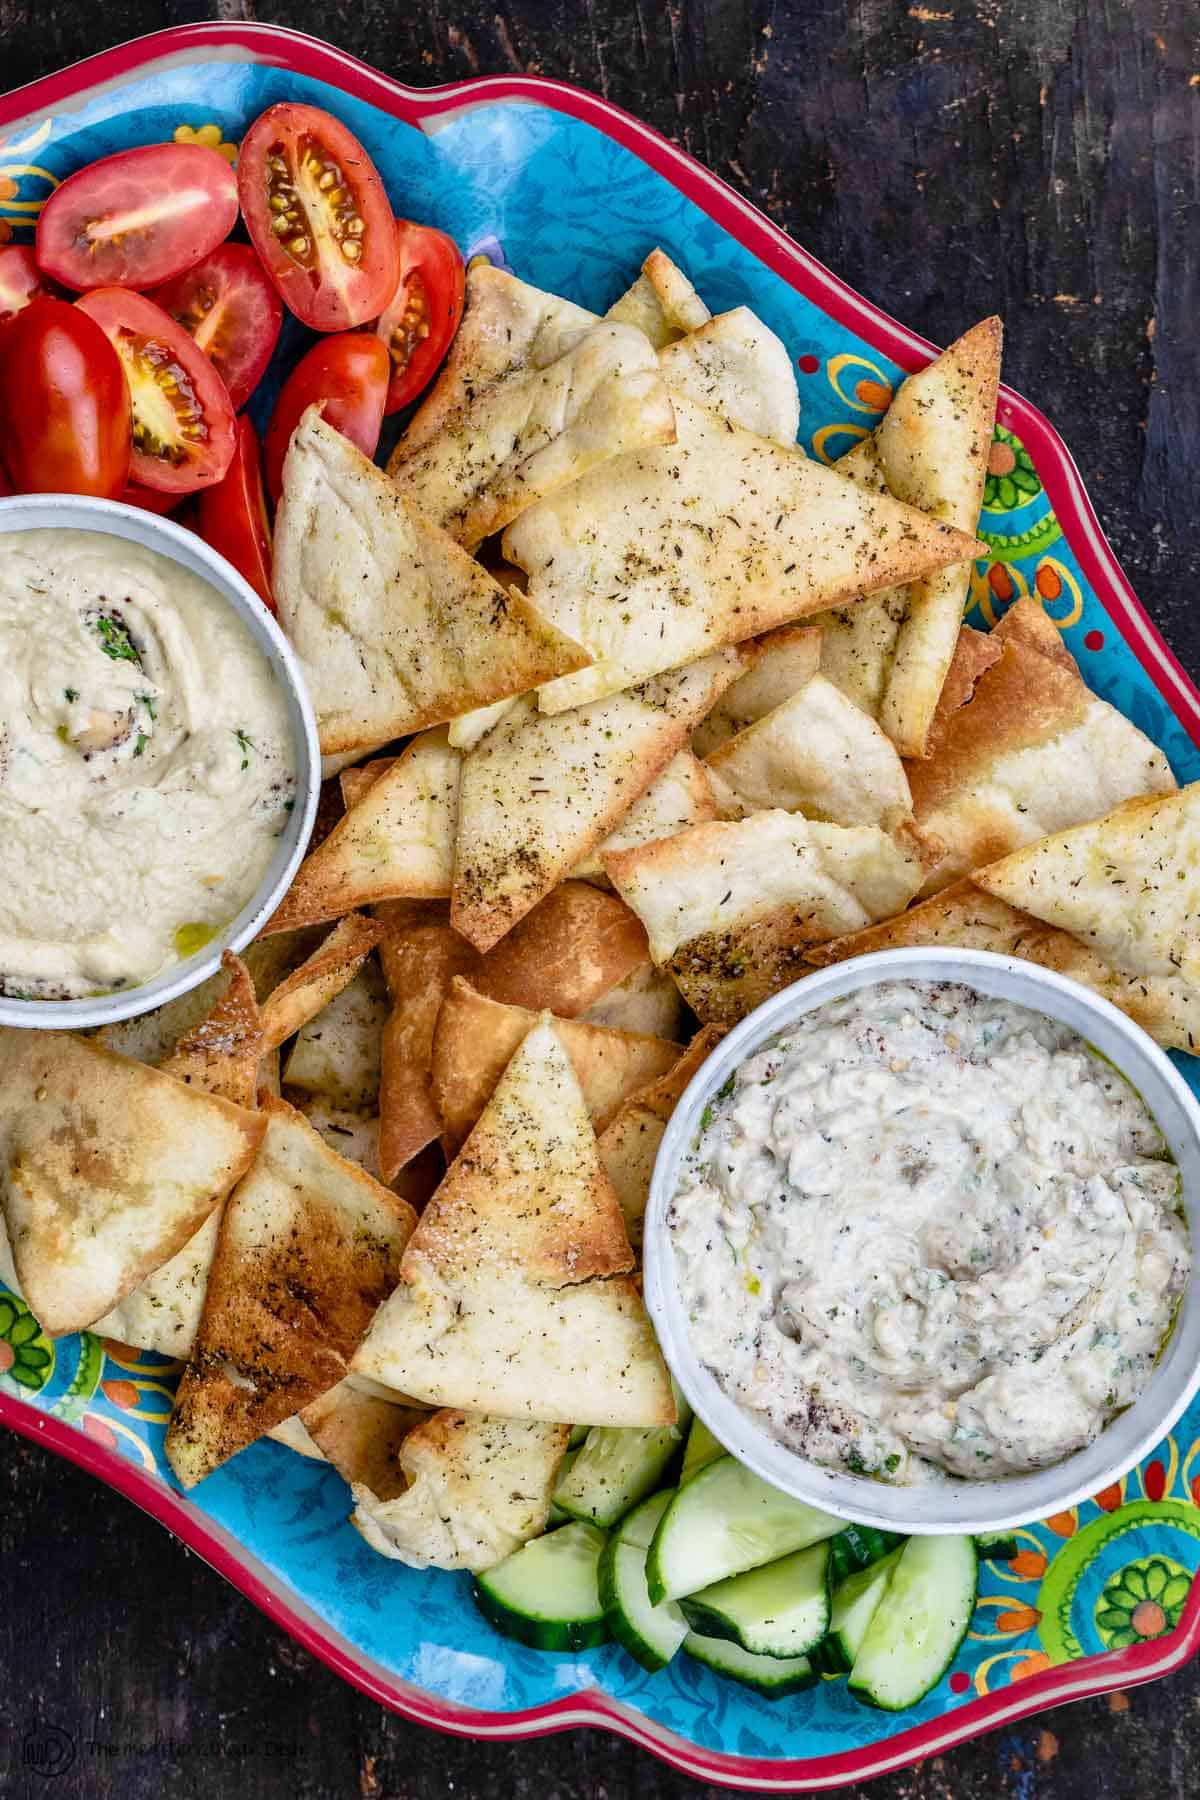
They’re great to have on hand because, obviously, there is no shortage of hummus and other amazing Mediterranean dips that could use a crunchy chip!
And one of my favorite snacks ever involves these crispy chips with dukkah and olive oil. I also love using them in place of croutons over soups.
Endless possibilities!
If you have 15 minutes or so, you can make my pita chips recipe start-to-finish!
Are pita chips healthy?
As far as snacks go, not only are they versatile but homemade pita chips are healthier than other store-bought chips and savory snacks (same goes for my Chickpea Parmesan Crisps, by the way).
For one, they pack significantly less fat. And you get to control the amount of salt.
How to Make Pita Chips
(be sure to check out the video below as well)
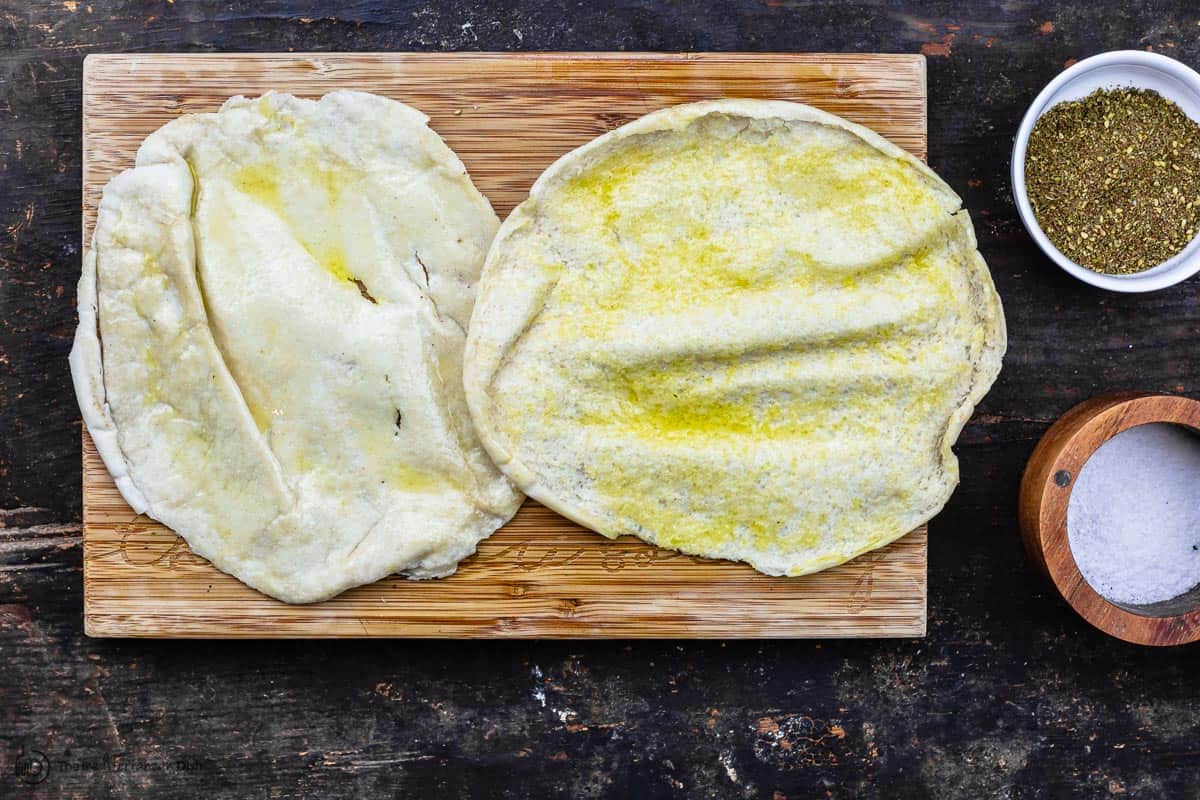
- Split your pita. I like to work with pita pockets. To split them, use kitchen shears or a good knife and cut through the seam to split into two single rounds.
- Brush each with extra virgin olive oil (do this on both sides)
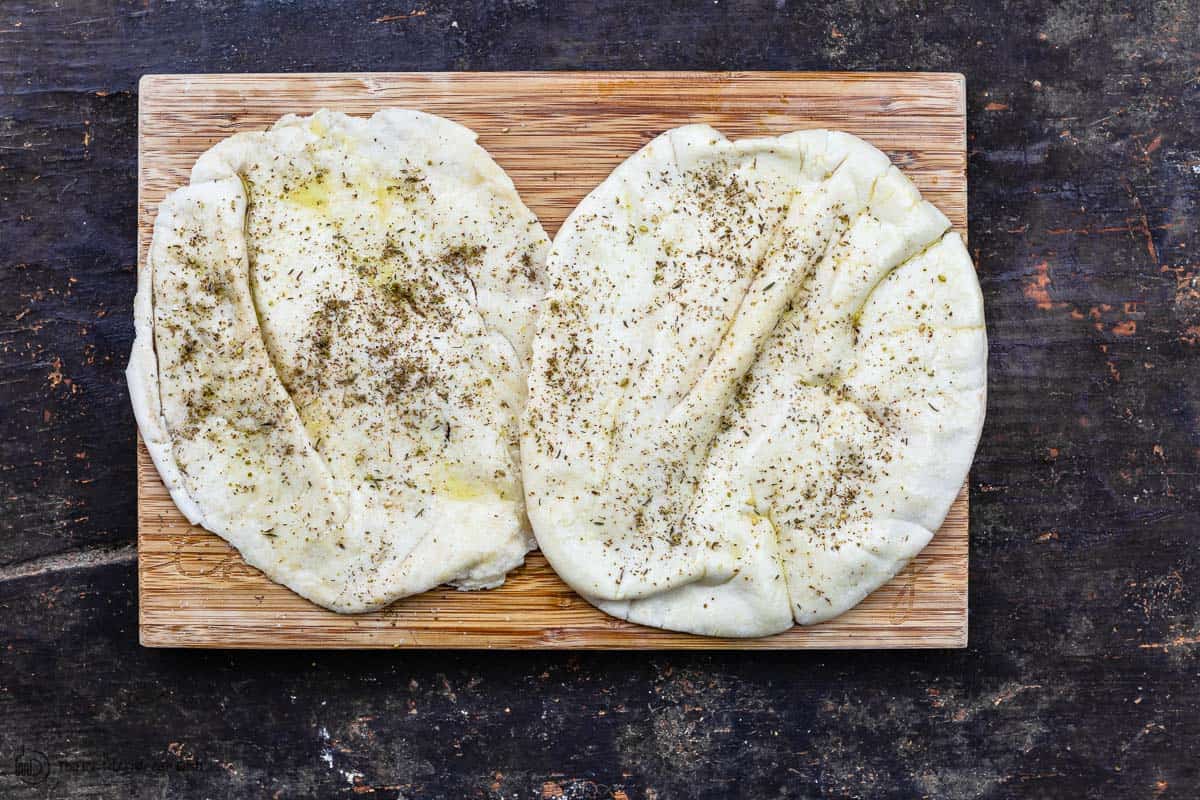
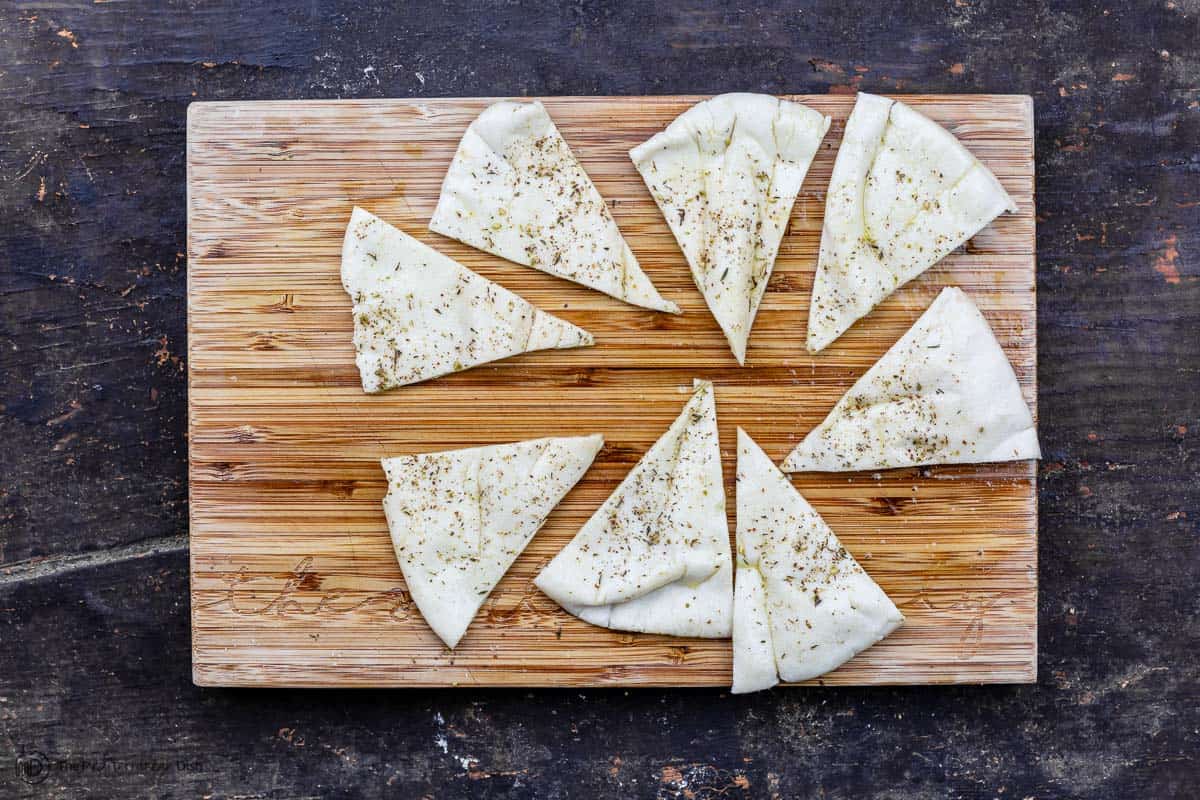
- Season the pitas. Kosher salt and whatever spices you like. I used Za’atar today. (Za’atar is a blend of Mediterranean wild thyme and toasted sesame seeds. Check out this article–>what is za’atar and how to use it.) You can season your pita chips however you want. In the mood for Moroccan? Try Ras El Hanout. Want more of an Italian vibe? Try a combination of oregano and dry parsley flakes. (Note: There is not a right or wrong flavor combo, but be sure to use spices and dry herbs as opposed to pastes or or fresh herbs.)
- Cut them up into triangles
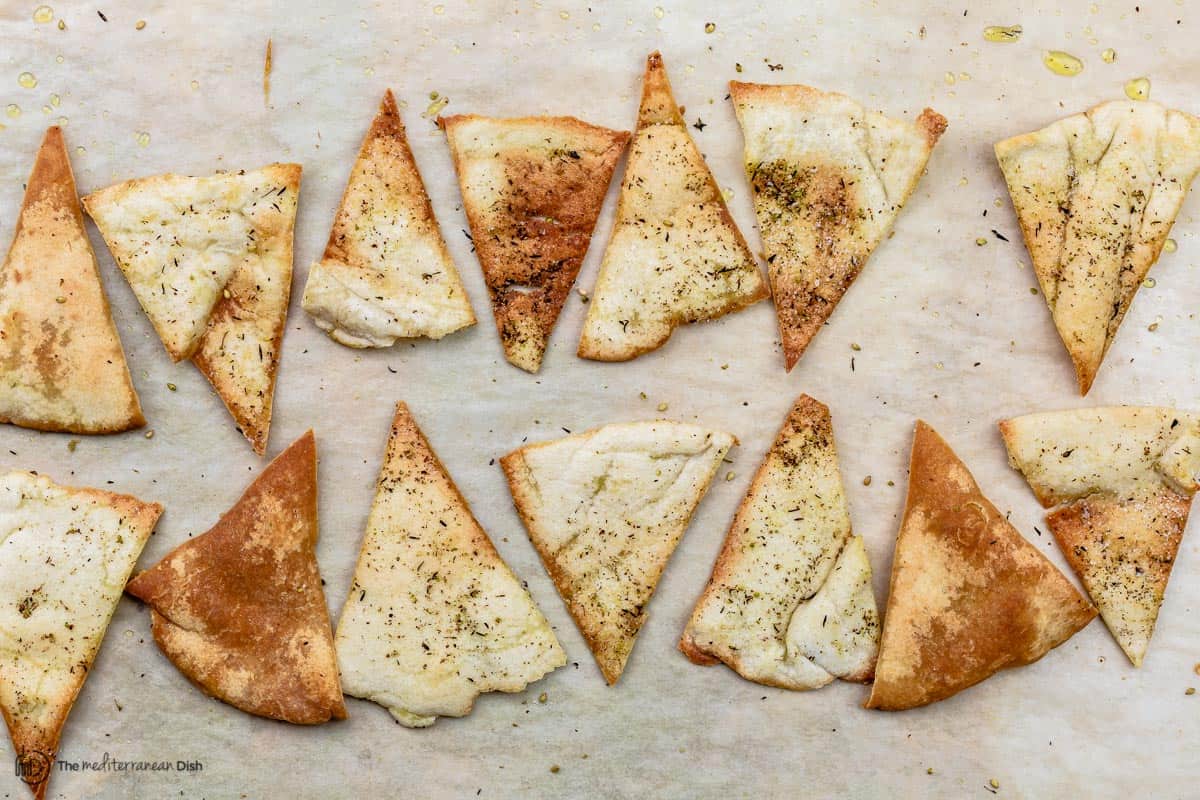
- Spread on a baking sheet (make sure to have them all in one layer). I did an experiment on this and found that it’s best NOT to line the baking sheet with parchment paper. The direct contact with the hot pan produced crispier and more evenly colored pitas (like in the video below).
- Bake in 425 degree F heated-oven. It can take 5 to 10 minutes for the pitas to crisp up and turn into beautiful, golden colored chips. Watch the pita triangles and be sure to turn over whichever ones gained a good bit of color on one side.
A few tips
Making these chips doesn’t require a ton of skill, but a few quick tips:
1. What kind of pita is best for pita chips? You can use any kind of pita you like. I prefer pocket pitas that you can split at the seam in halves so that you have a thinner layer to work with. But there are some thick pitas, lavish, or even naan that you can use to make thicker chips that have more substance to stand to your dips. You’ll just want to adjust the cooking time to make sure they get enough color and crisp.
2. Use enough fat and higher heat. Use a tasty olive oil to give the chips good flavor, and use enough to give all the pita pieces a good coating. As far as the heat factor, it will depend on how thin your bread is. My oven is heated to 425 degrees F, but if you’re using much thinner bread, you can adjust the heat down to 375 degrees F. And you do want to watch them so you can take them out when they arrive at the color you like.
3. Don’t line the sheet pan with parchment paper. I experimented a couple of times (the above photo shows you a pan lined with parchment, but in the video below I did not use parchment). Direct contact with the hot pan produced crispier, more evenly colored pita chips. Also make sure the chips are arranged in one layer.
4. Let the pita chips cool completely before serving or storing. Do not cover them or put them in storage containers until they are have completely cooled. As they cool, they will get even crisper and become more sturdy to stand up to your roasted red pepper hummus!
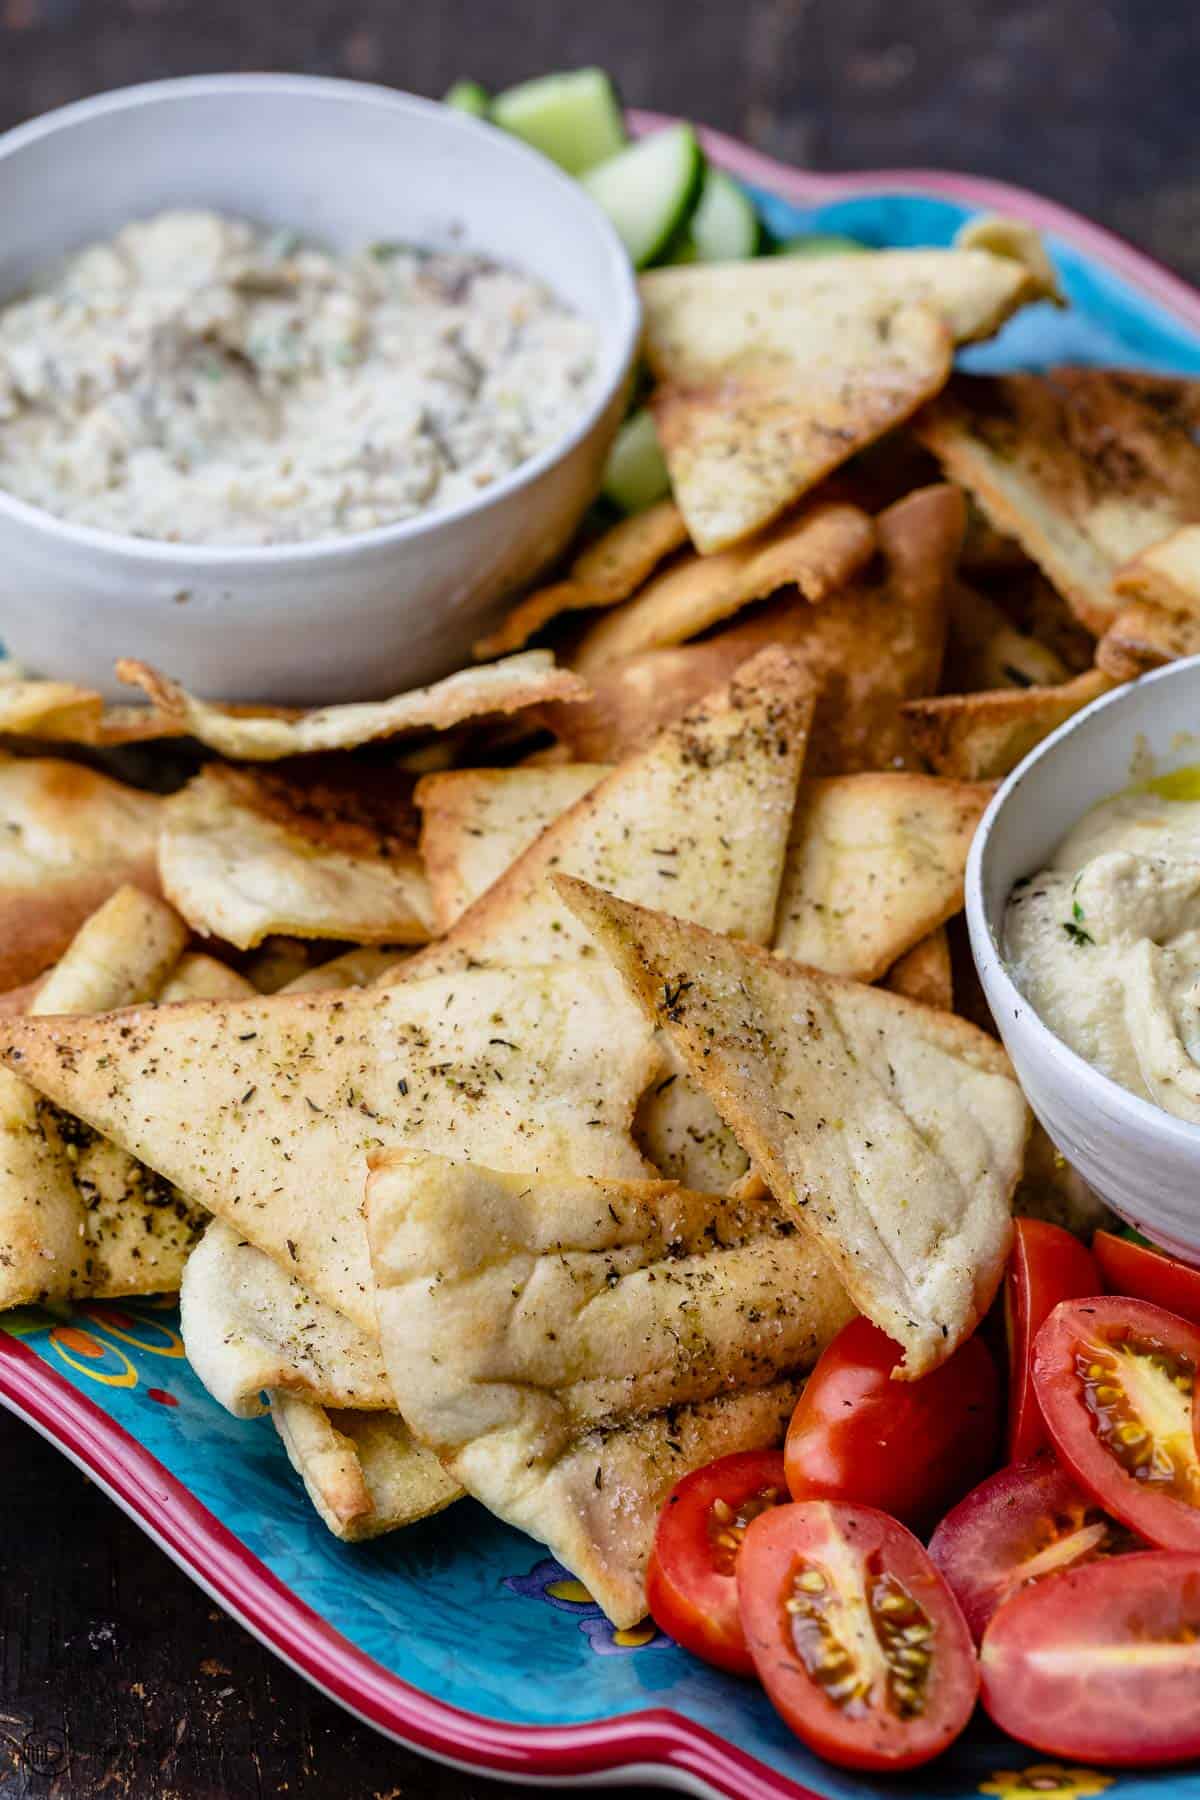
What do you eat them with?
Dips like: hummus, baba ganoush, melitzanosalta, tzatziki, muhammara, citrus avocado dip.
Add them as part of a party cheese board or mezze platter.
Or in place of croutons over your tomato basil soup, lentil soup, roasted carrot soup.
How to store pita chips?
Once they have completely cooled, you can store pita chips in an airtight containers at room temperature for 3 days and up to 1 week. In my experience, for fresher, best-tasting pita chips, 3 days is better. (Honestly, these are addictive, they’ve never lasted this long in my house!)
Recent recipes you may like
How to Make the Best Challah Bread
You may also enjoy 50+ Top Mediterranean diet recipes. For all recipes, visit us here. JOIN MY FREE E-MAIL LIST HERE.
How to Make Homemade Pita Chips
Add As A Trusted Google Source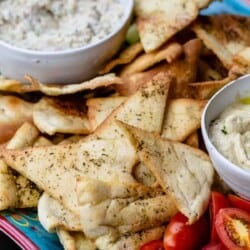
Equipment
- Sheet Pan
Ingredients
- 2 to 3 pita bread with pockets store-bought or homemade
- Extra virgin olive oil I used Greek Private Reserve extra virgin olive oil
- Kosher Salt
- Seasoning of choice I used a generous sprinkle of Za'atar
Instructions
- Heat the oven to 425 degrees F. And prepare a large sheet pan (do not line with parchment).
- Split the pita pockets in half to make single rounds of pita. Place each pita flat on your cutting board and split them in half from the seam with a sharp knife or kitchen shears (you should end up with 2 single rounds of pita). Note: If your pitas are the thick, single-layer kind, you can skip this step as you can't split them.
- Brush with extra virgin olive oil & Season. Brush the pita rounds with extra virgin olive oil and season with kosher salt and za'atar (do this on both sides).
- Cut into triangles. Using a knife or a pair of kitchen shears again, cut each round of pita into 8 triangles.
- Bake! Arrange the pita triangles on the prepared sheet pan. Bake anywhere from 5 to 10 minutes, checking occasionally to turn over the pita triangles that have gained color, until you have pita chips that are crispy and golden brown to your liking.
Video
Notes
- Important note: If you’re using thin pitas, they will bake more quickly while thicker pitas will take a bit longer. It’s important to watch for them to turn color and crisp up to your liking.
- Dip ideas: Hummus, baba ganoush, melitzanosalata, tzatizki, or a little olive oil and dukkah!
- Storage: To store, make sure the pita chips are completely cooled. Store them in an airtight container at room temperature for 3 days and up to 1 week.
- Visit our online shop to browse quality Mediterranean ingredients including extra virgin olive oils and all-natural and organic spices.
Nutrition
*This post originally appeared on The Mediterranean Dish in July 2019 and has been recently updated with new media and information for readers’ benefit.
Great tips for making a treat that the whole house loves. AND, you can use these for almost any dip (or crumbled and scattered on salad like we do!). Mmmm! I need a batch soon!
Oooo! Yes! These are great crumbled on salads!!
Gave these a try and they made an excellent snack! Easier than I thought and hands down delicious!
That’s great to hear! Thanks, Sara!
These are so delicious and so easy to make! Can’t wait to make this all the time now!
Thank you so much, Beth!
This is great! an all-time favorite at my house!
Thanks, Toni!!
What a great idea for an appetizer or for the weekly movie night!
Absolutely!! 🙂
This pita chips couldn’t look any more perfect!
Thanks, Erin!
These pita chips are so good! Mine turned out perfect! ( THANKS!). I made some home-made guacamole to dip them. Just awesome!
Yay! Happy to hear you liked them! Thanks, Randy!
This is awesome! I love how fun it is making your own pita chips! Thanks for the recipe!
Yum! Homemade pita chips are one of my favorite treats. I love crispy, salty snacks and these are a much healthier and tasty alternative to potato chips.
Totally! Hope you give these a try!
Thanks for sharing this recipe!! I love the seasonings you chose, can’t wait to try this recipe with some homemade feta dip!
Sounds great! Glad you liked it!
What an easy snack recipe! This goes perfectly with my homemade hummus!
Easy does it, right?! Thanks for trying this one!
These are positively addicting!
I know it!
I like your idea to use pocket pitas too. I like my pita chips crunchy, and I think a thinner chip is easier to get a good crunch with.
Absolutely! Enjoy!
That is such a great great idea! Love it!
Glad you liked it! Enjoy!
Pita chips are one of mine and my sons favorite snacks. I love the idea of being able to make the chips at home so I know everything that’s in them.
Awesome, Erin! I hope he’ll enjoy this homemade version
Perfect to go with my hummus!! So simple to make, too!
Totally simple! thanks for checking this recipe out!